Getting started
Inhaltsverzeichnis
1. Settings
1.1. Register on marketplace
1.2. Choose your role
1.3. Set up company profile
1.4. Change account language
1.5. Change your account E-Mail
1.6. Change your password
1.7. Delete your account
2. Services
2.1. Create a service
2.2. Publish a service
2.3. Edit a service
2.4. Delete a service
3. Vacancies
3.1. Create a vacancy
3.2. Publish a vacancy
3.3. Edit a vacancy
3.4. Delete a vacancy
4.1. Create cyber insurance
4.2. Publish cyber insurance
4.3. Edit cyber insurance
4.4. Delete cyber insurance
Settings
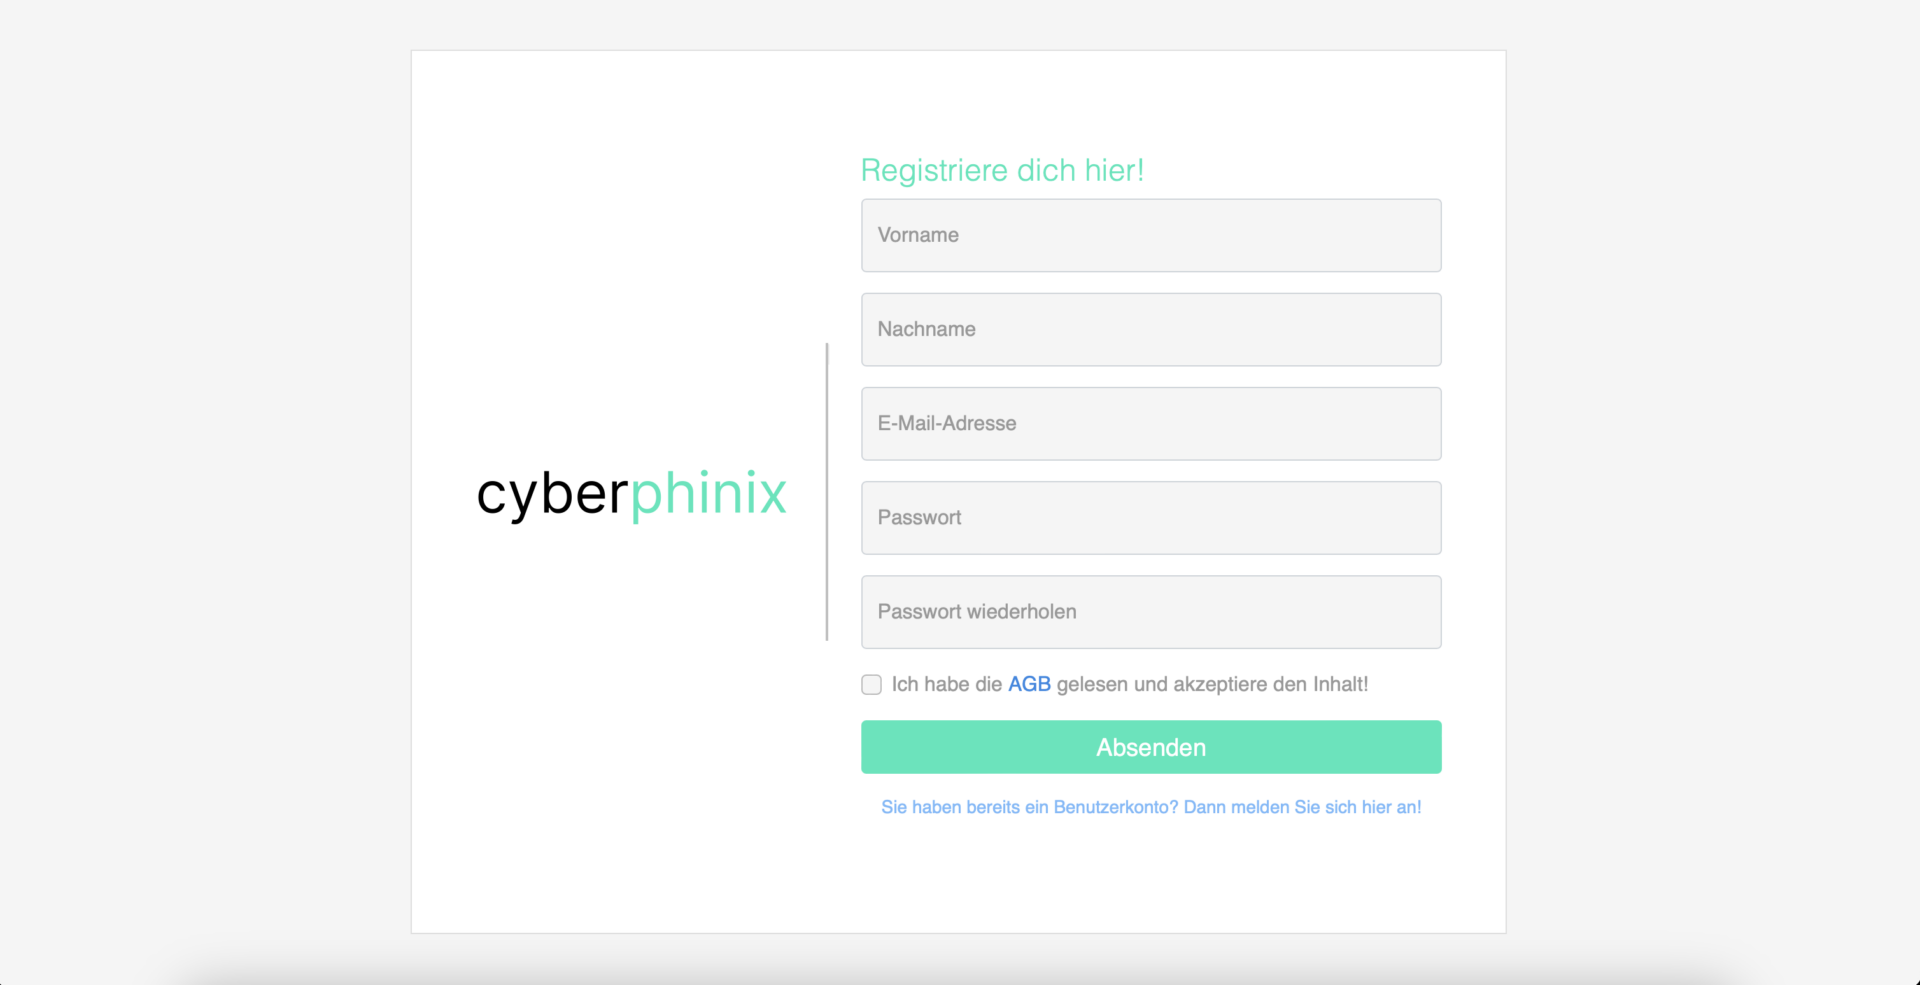
Register on marketplace
To create a cyberphinix account and gain access to the marketplace, please visit https://auth.cyberphinix.de/register.
Please fill out the specified fields and ensure that you choose an appropriate password that adheres to the following guidelines:
- It must be at least 12 characters long.
- It must contain at least one lowercase letter.
- It must contain at least one uppercase letter.
- It must contain at least one special character.
- It must contain at least one number.
Choose your role
After your initial login, you’ll be prompted to select your role. If you’re a service provider, please choose vendor. Otherwise, select an appropriate role e.g. customer.
Selecting the appropriate role is crucial, as it determines the functionalities available to you. For instance, only service providers can create services, while customers cannot.
Set up your company profile
Now it’s time to establish your company profile. Please visit https://marketplace.cyberphinix.de/profile-settings and complete as many fields as possible.
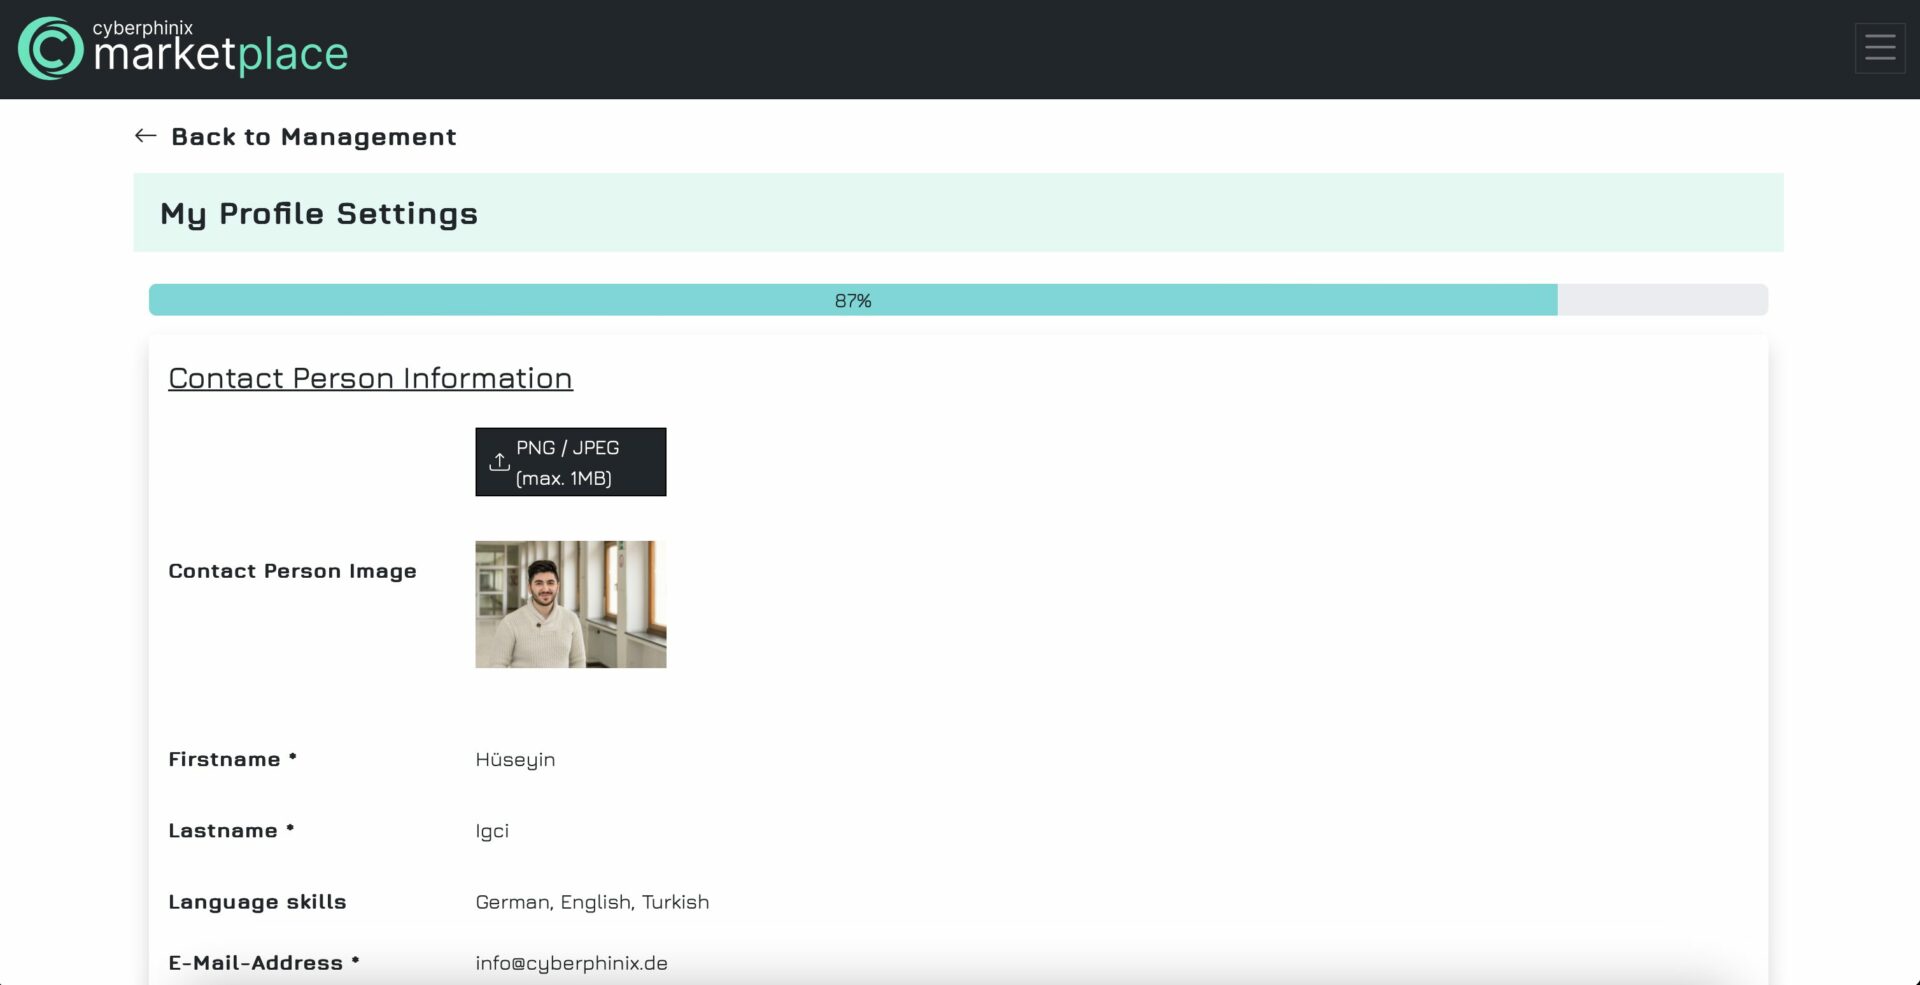
The profile settings are divided into two sections. The first section contains contact person information, while the second section holds company details. Required fields are indicated with an asterisk.
Contact Person
Enhance credibility with potential customers by uploading a photo of your company’s contact person. This image will accompany the provided first and last name on your profile. Note that the email address in the contact information section is for customer correspondence, not your login email address.
Additionally, please indicate your language proficiency so that potential customers know which languages they can communicate with you in.
Company
Upload your logo to enhance brand recognition.
Important: Ensure you provide a website as it’s a prerequisite for being listed in the provider directory. Without it, your company won’t appear there.
If your company holds certifications such as ISO27001, ISO/SAE 21434, OSCP, eWPT, etc., please provide this information in the certificates field. This allows other companies to consider them in their selection process. Some customers may only order from service providers whose employees hold specific certifications like OSCP.
Provide comprehensive information about your company. If you don’t share it, how will others know and build trust?
We recommend providing your address so that customers know your location. Some customers may specifically seek providers nearby.
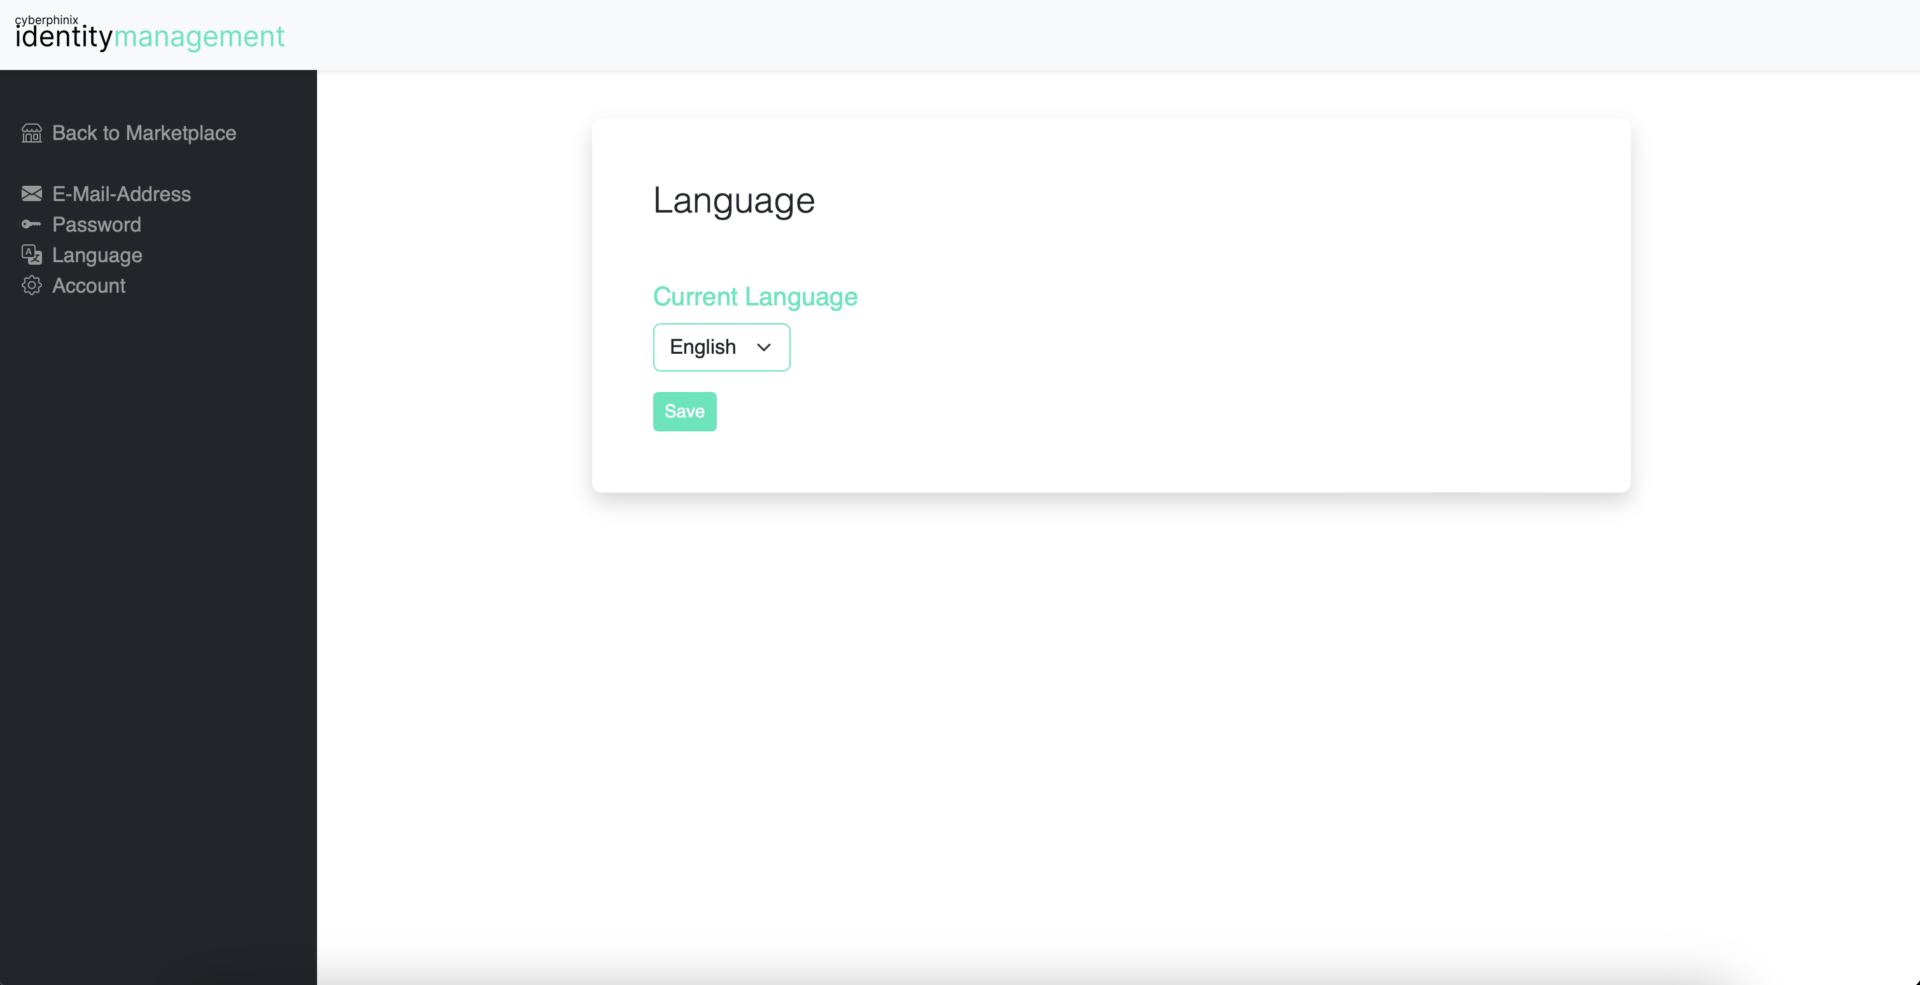
Change account language
If you wish to change the language of your account, it’s simple to do so. Navigate to “Settings” in the menu bar on the left-hand side. You will then be redirected to https://id.cyberphinix.de. From there, select “Language” in the new menu, choose your preferred language, and save your selection. Currently, you can choose between German and English. If other languages are needed, please make a request.
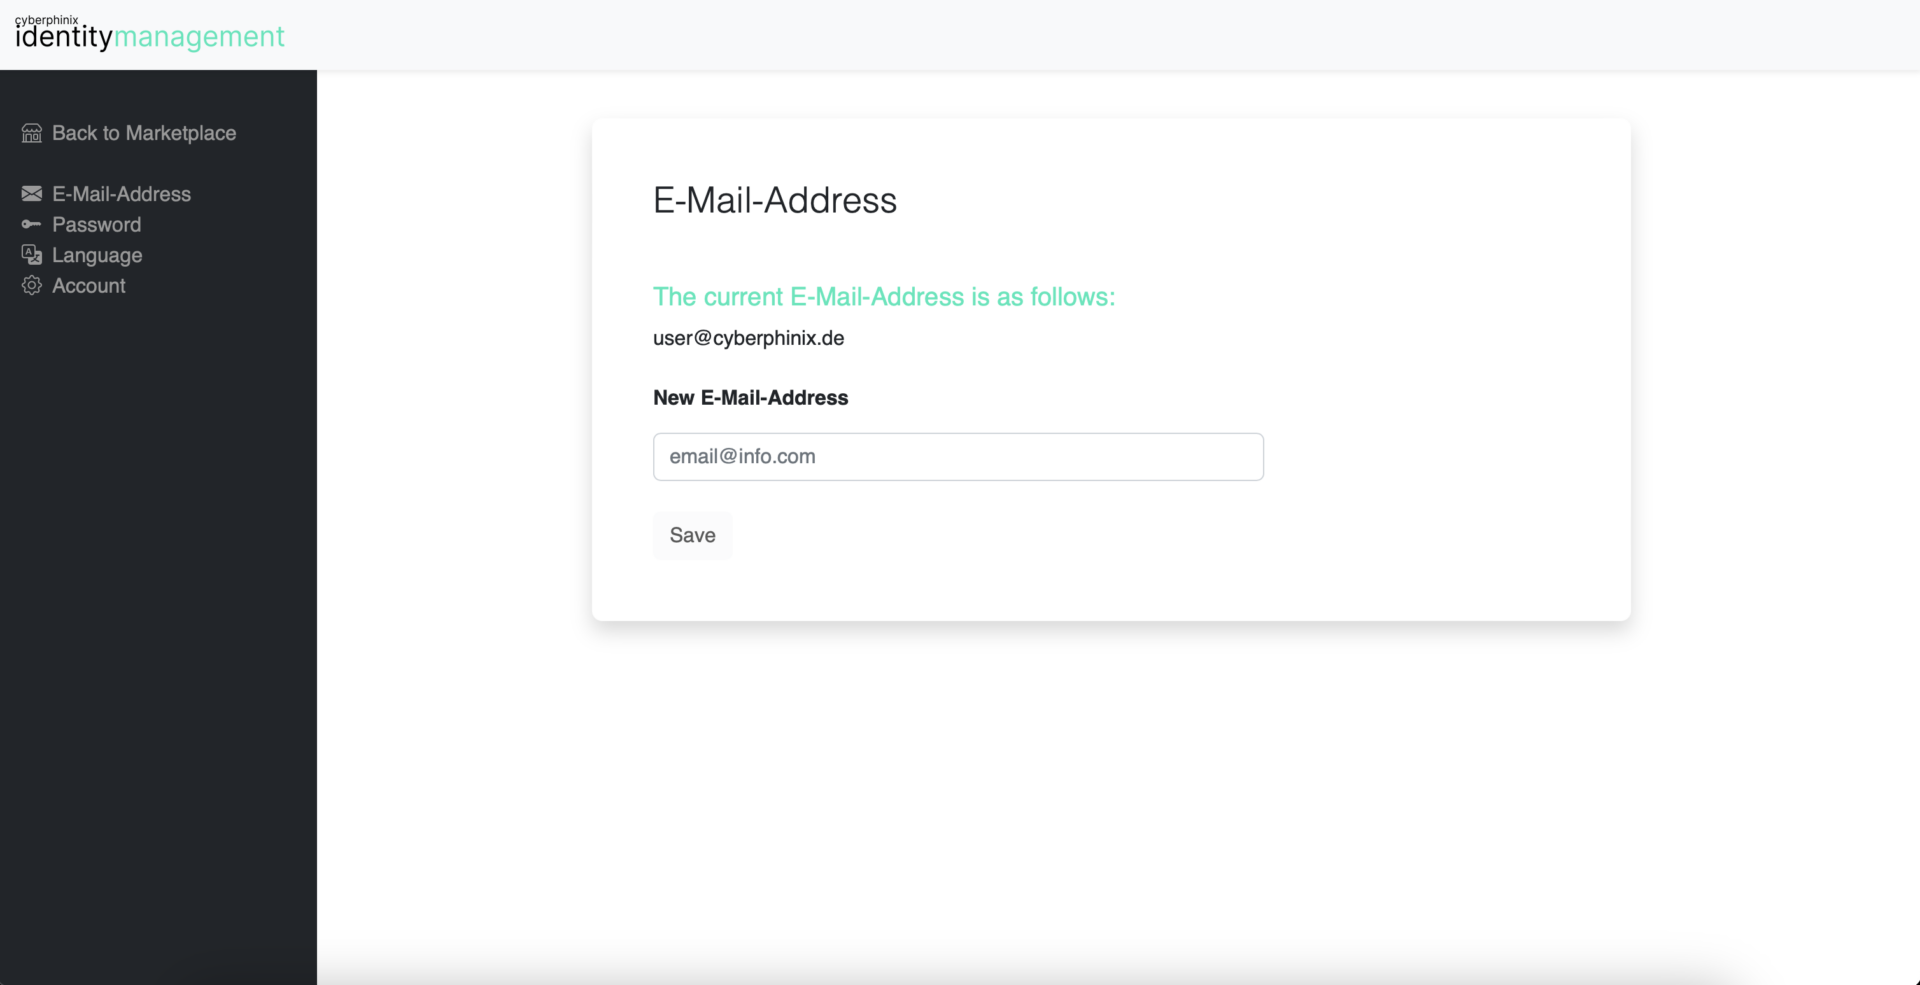
Change your account E-Mail
To change your login email address, follow these steps: Navigate to the menu on the left-hand side and select “Settings.” You’ll then be directed to https://id.cyberphinix.de. From there, choose “E-Mail” in the new menu, update your email address, and save your changes.
After a brief period, you’ll receive a verification email at your new email address. Your login email will only be changed once you open the verification link in this email. From then on, you’ll need to log in using your new email address.
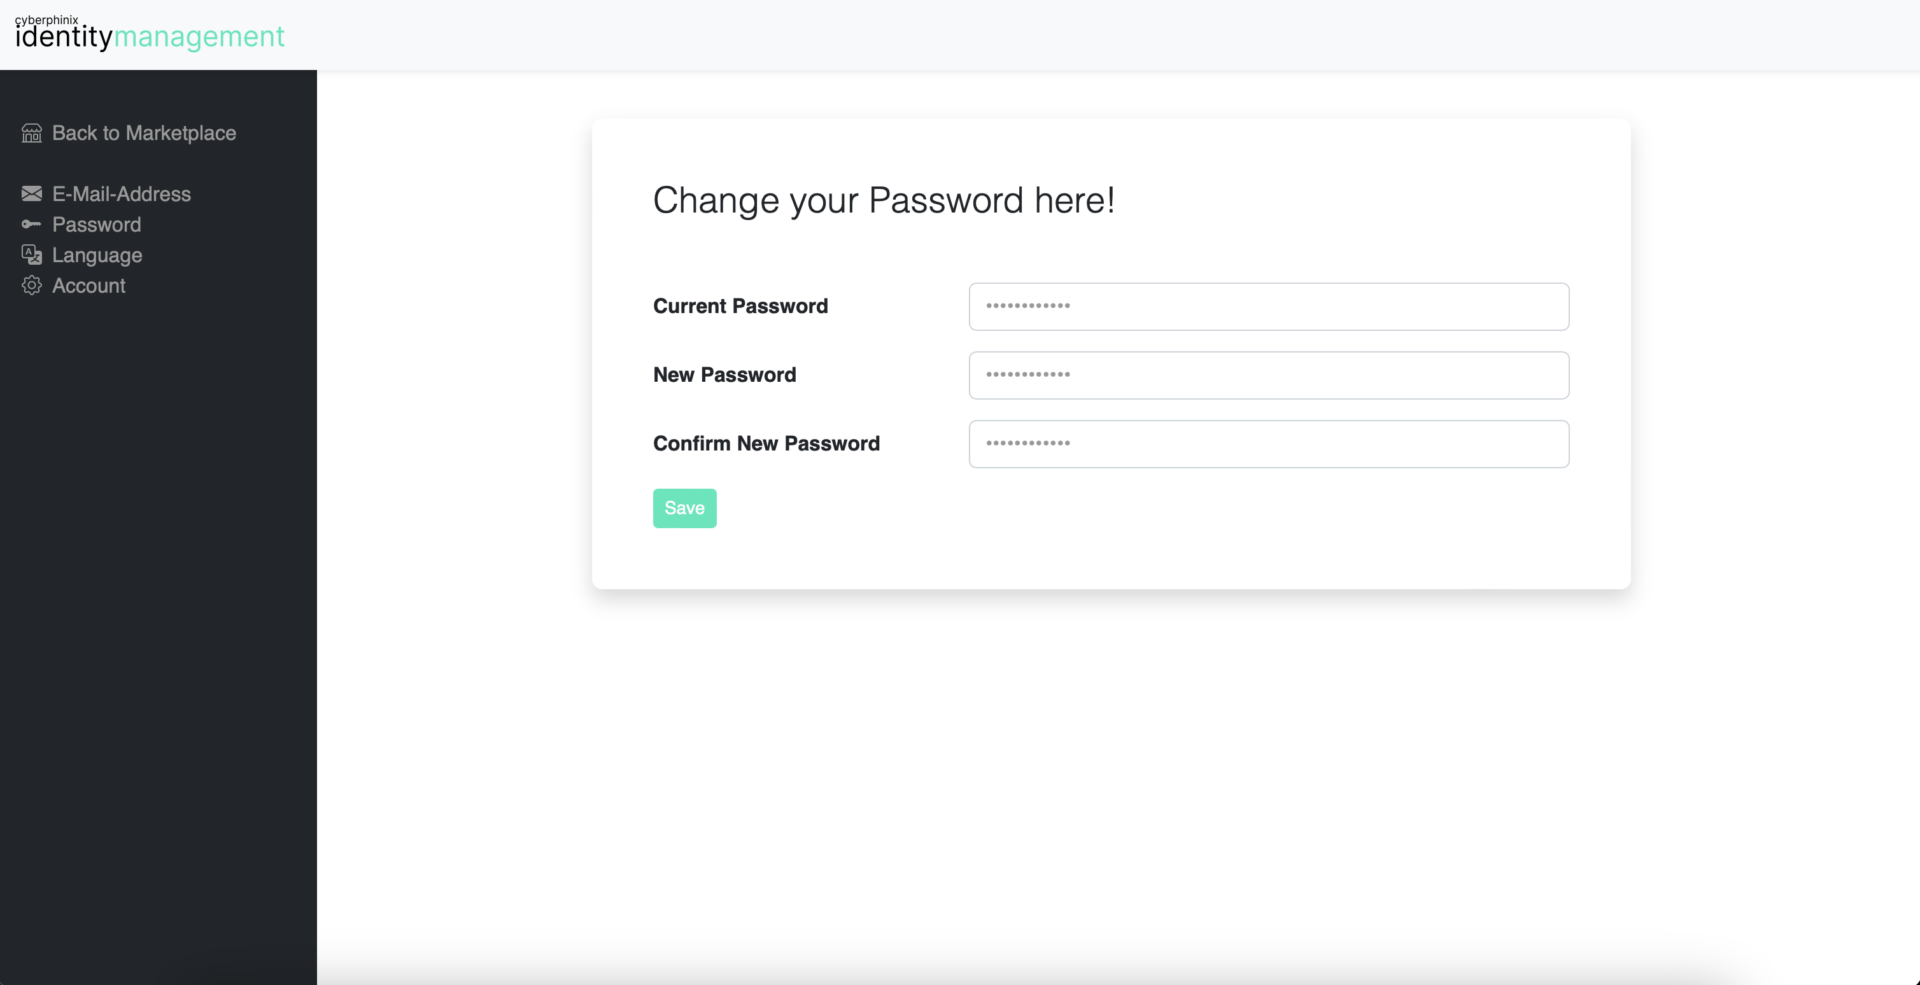
Change your password
To change your password, follow these steps: Navigate to the menu on the left-hand side and select “Settings.” You’ll then be directed to https://id.cyberphinix.de. From there, choose “Password” in the new menu, update your password, and save your changes. Now your next login will require the new password.
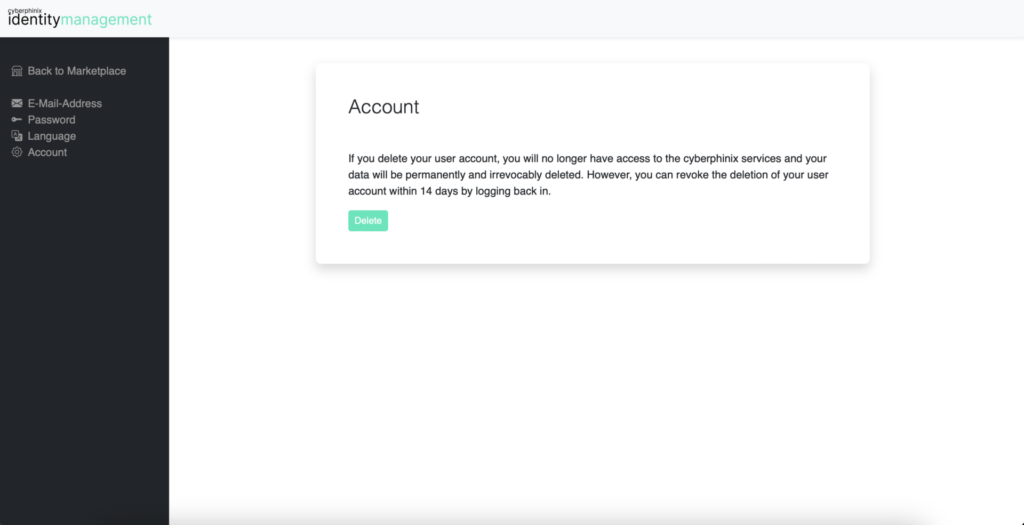
Delete your account
To delete your account, follow these steps: Navigate to the menu on the left-hand side and select “Settings.” You’ll then be directed to https://id.cyberphinix.de. From there, choose “Account” in the new menu, and click on “Delete.”
You will receive an email confirming that the deletion of your account has been initiated. From that moment, you will have 14 days to reactivate your account by simply logging in again.
Services
Create a service
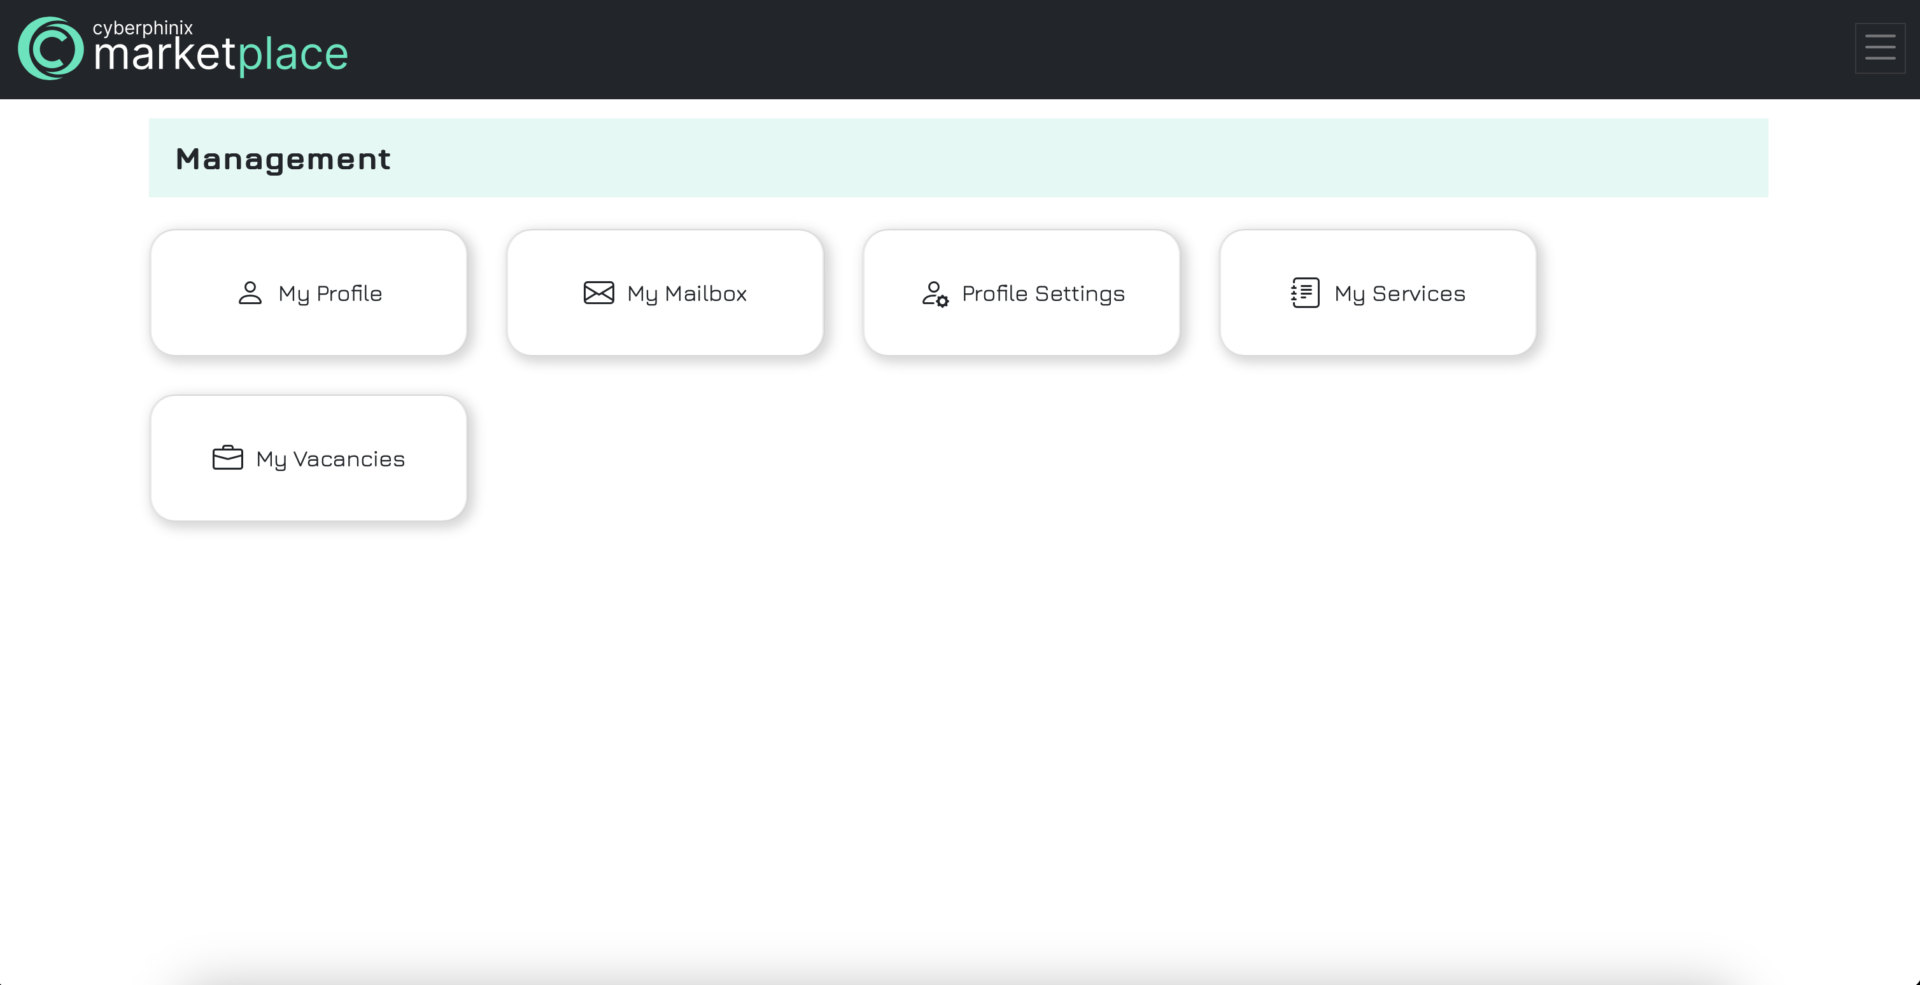
To create a service, navigate to “Management,” then click on “My Services” and select “Create a New Service.”
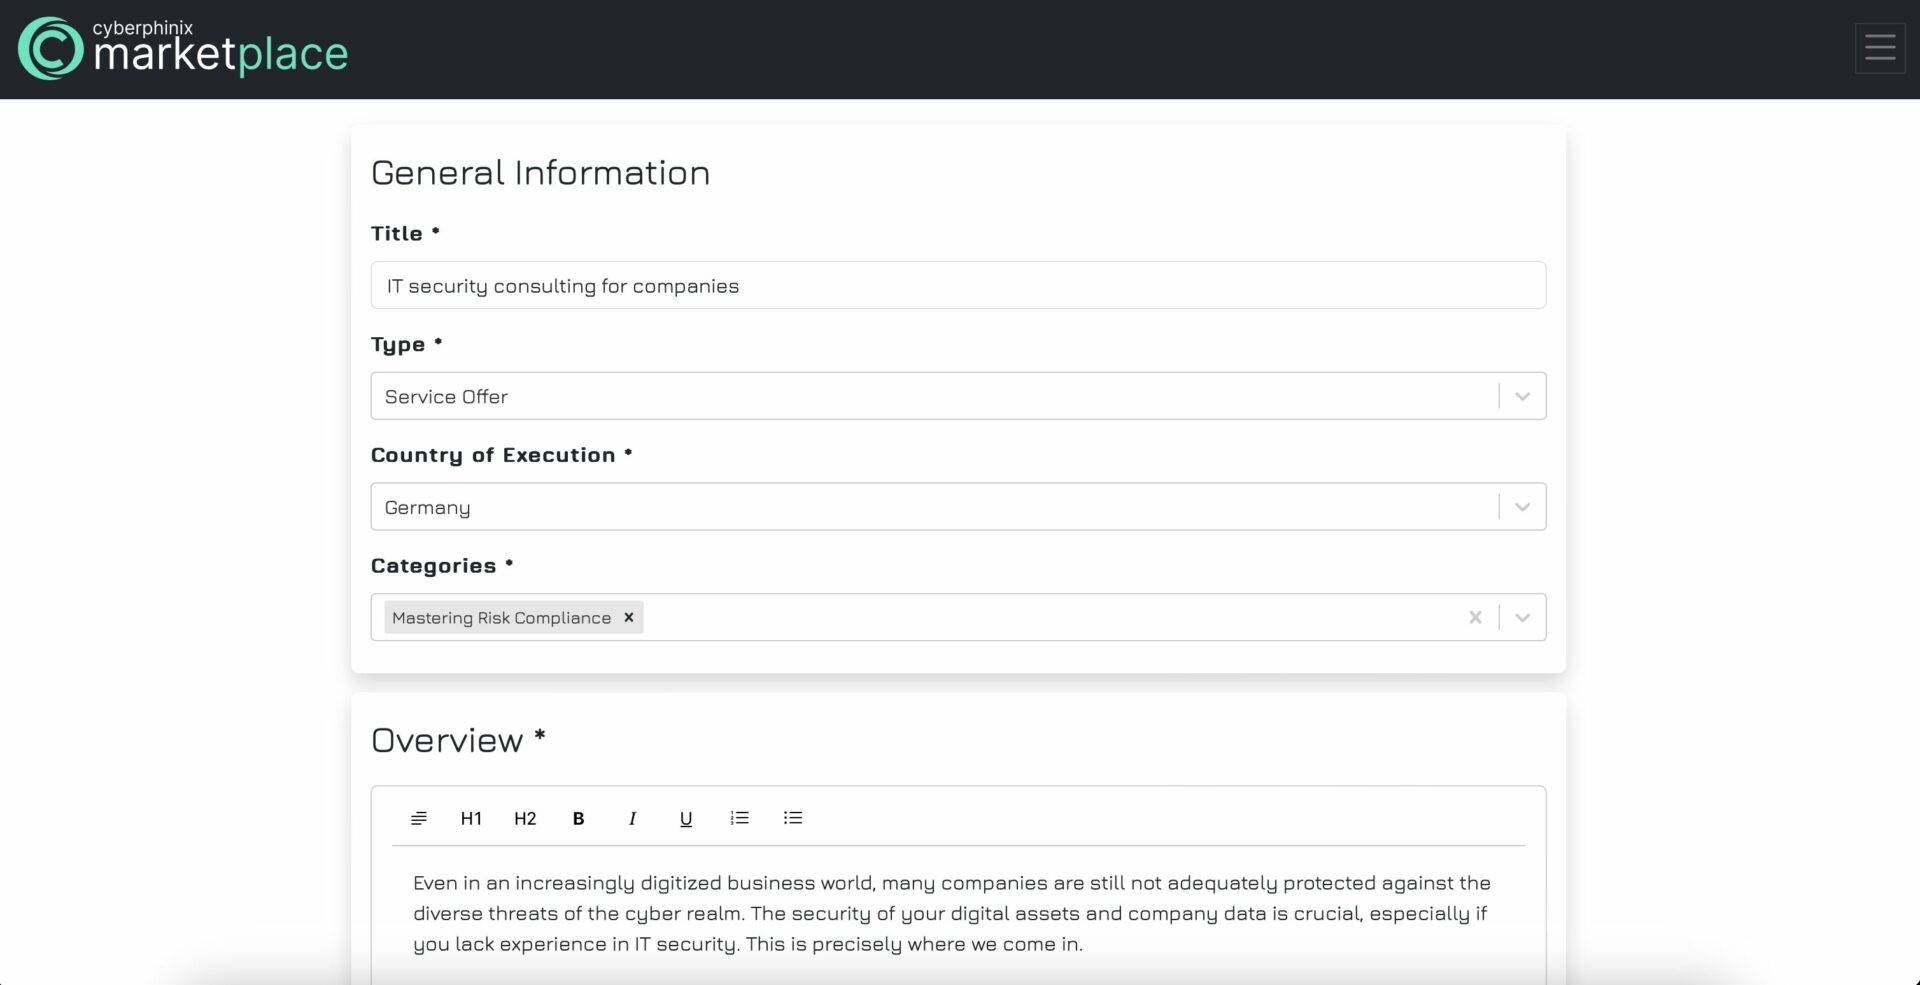
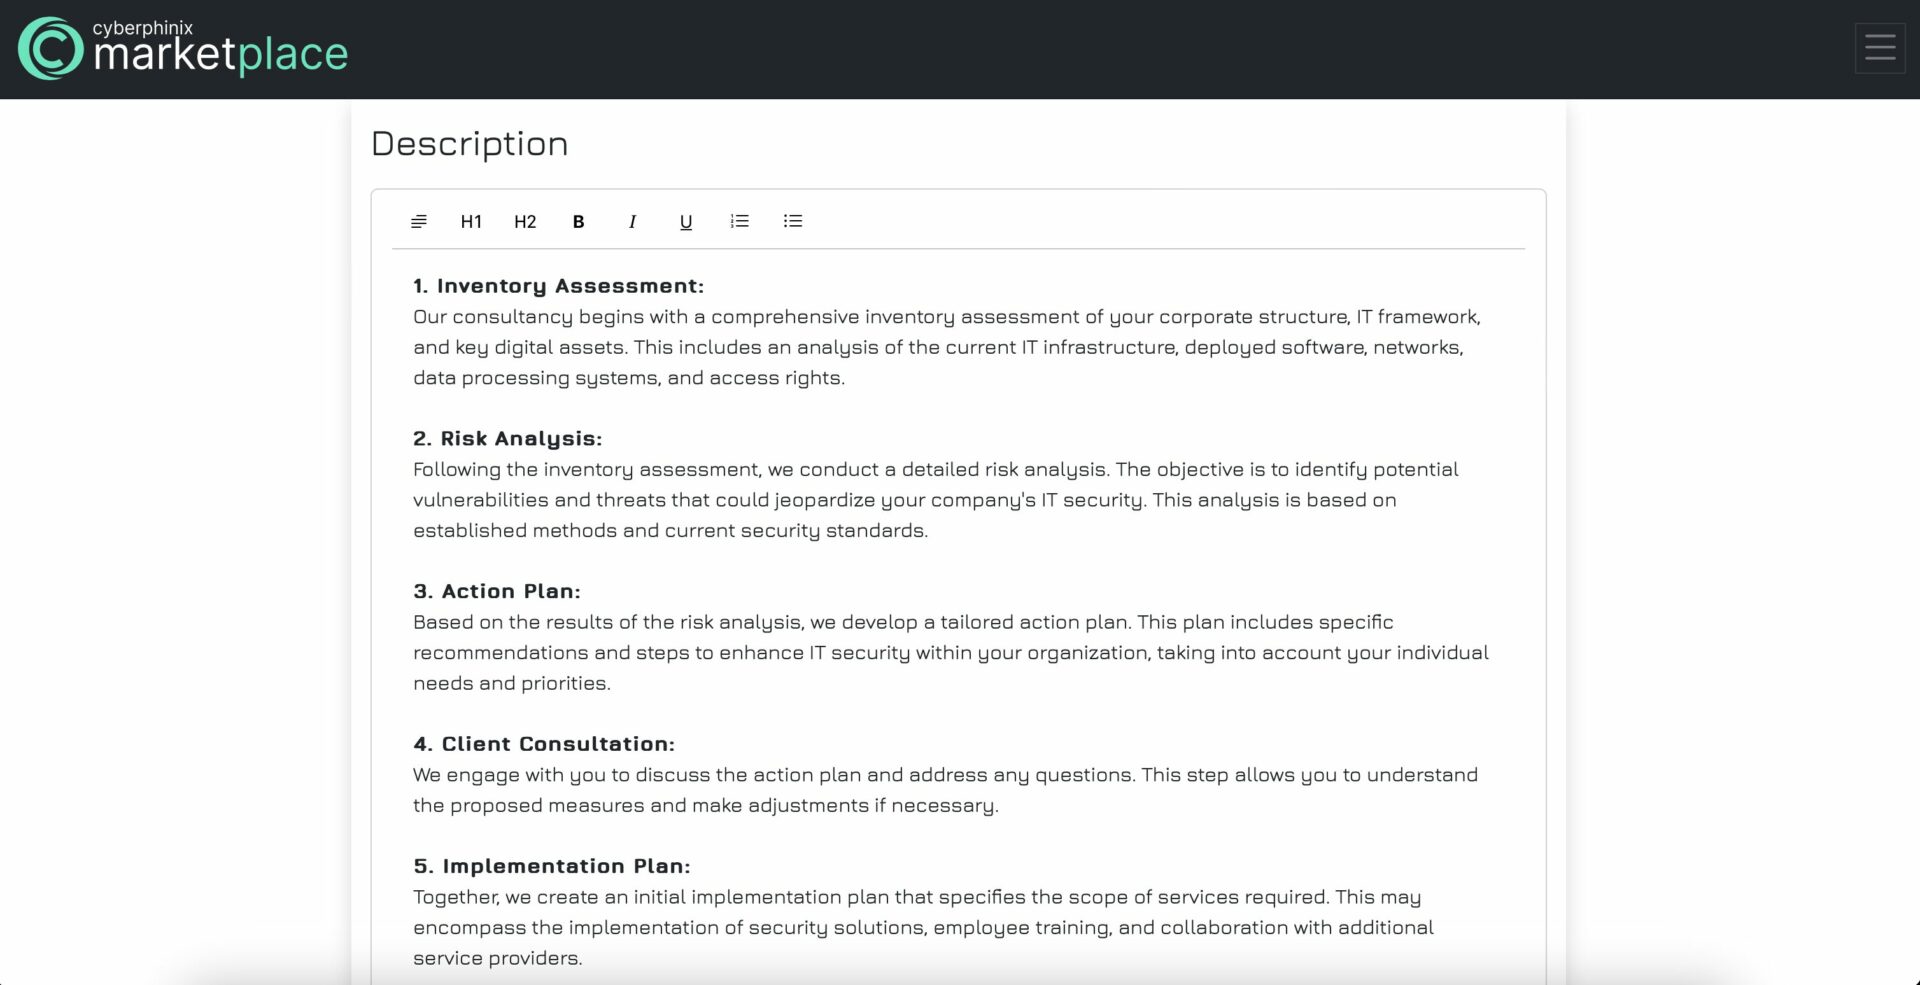
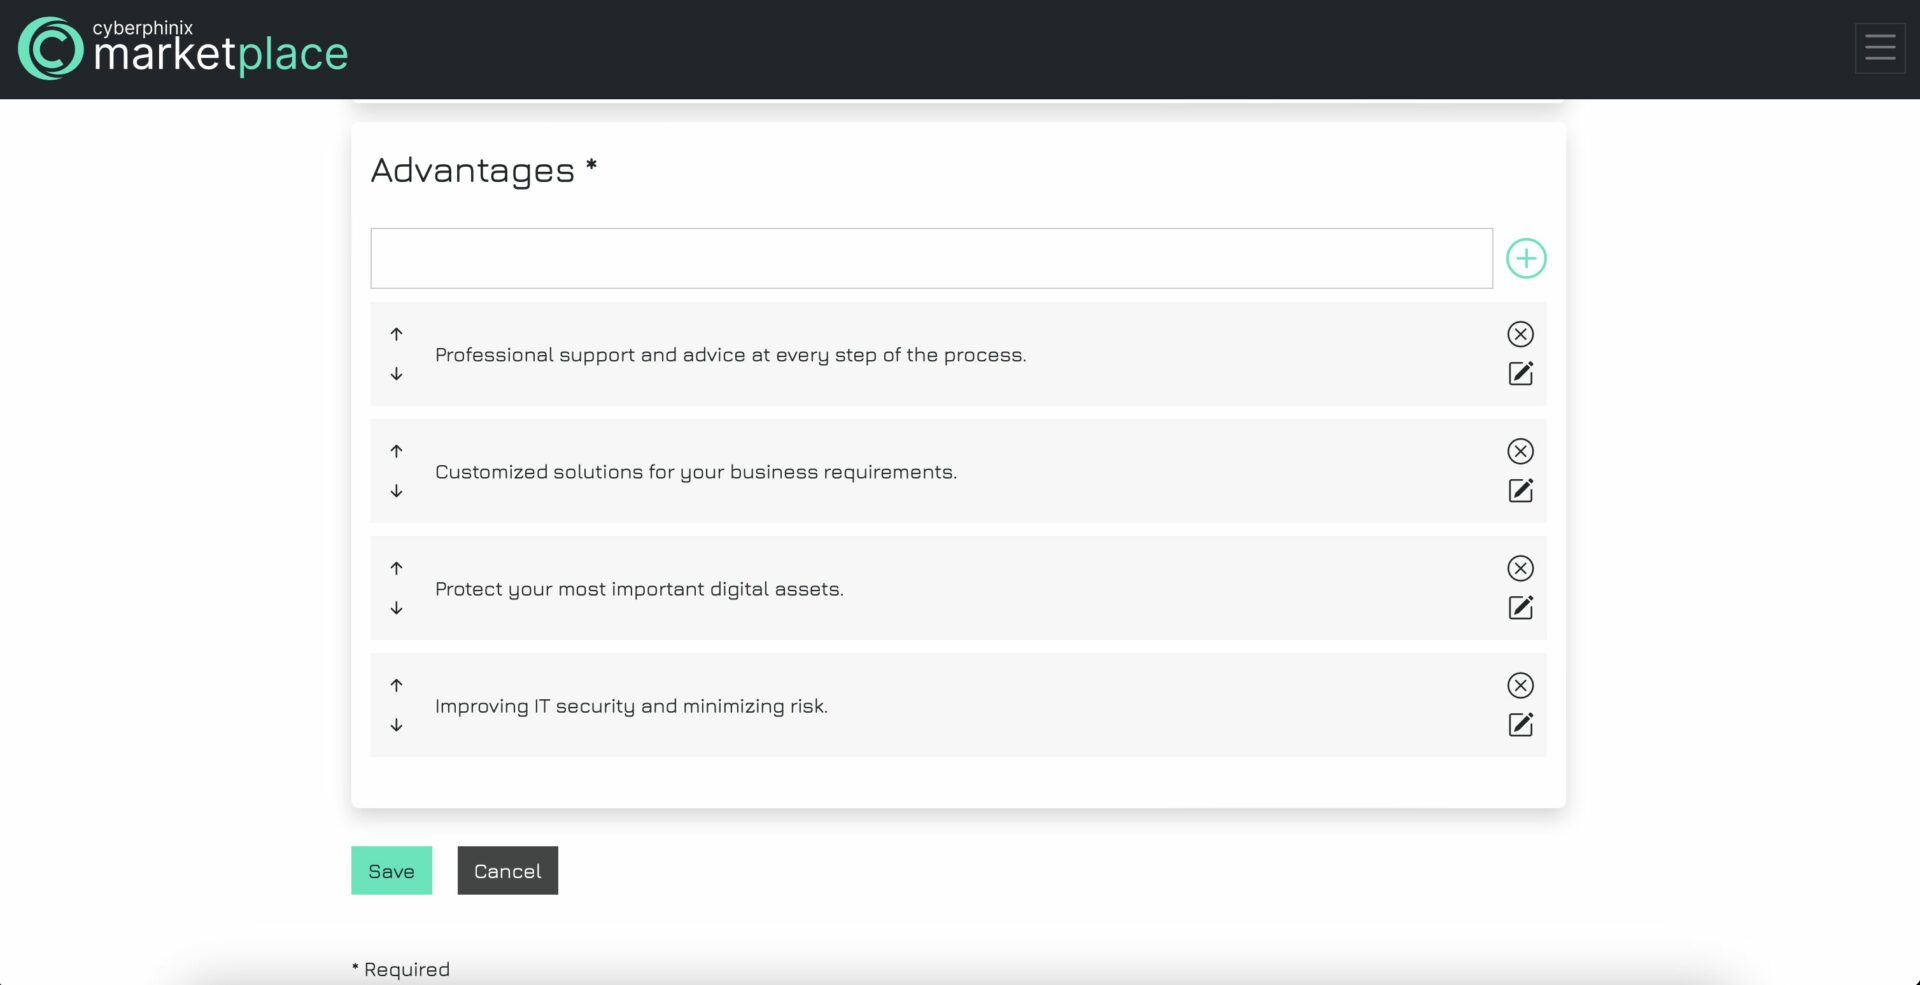
Fill out all fields thoroughly, ensuring you explain your service as comprehensively as possible. Your goal is to persuade potential customers to order your service. Insufficient information may deter customers from choosing your service.
Once all fields are completed, click “Save” at the bottom. Your service is now created, but please note that it is not yet publicly visible at this point.
Important: Required fields are marked with an asterisk.
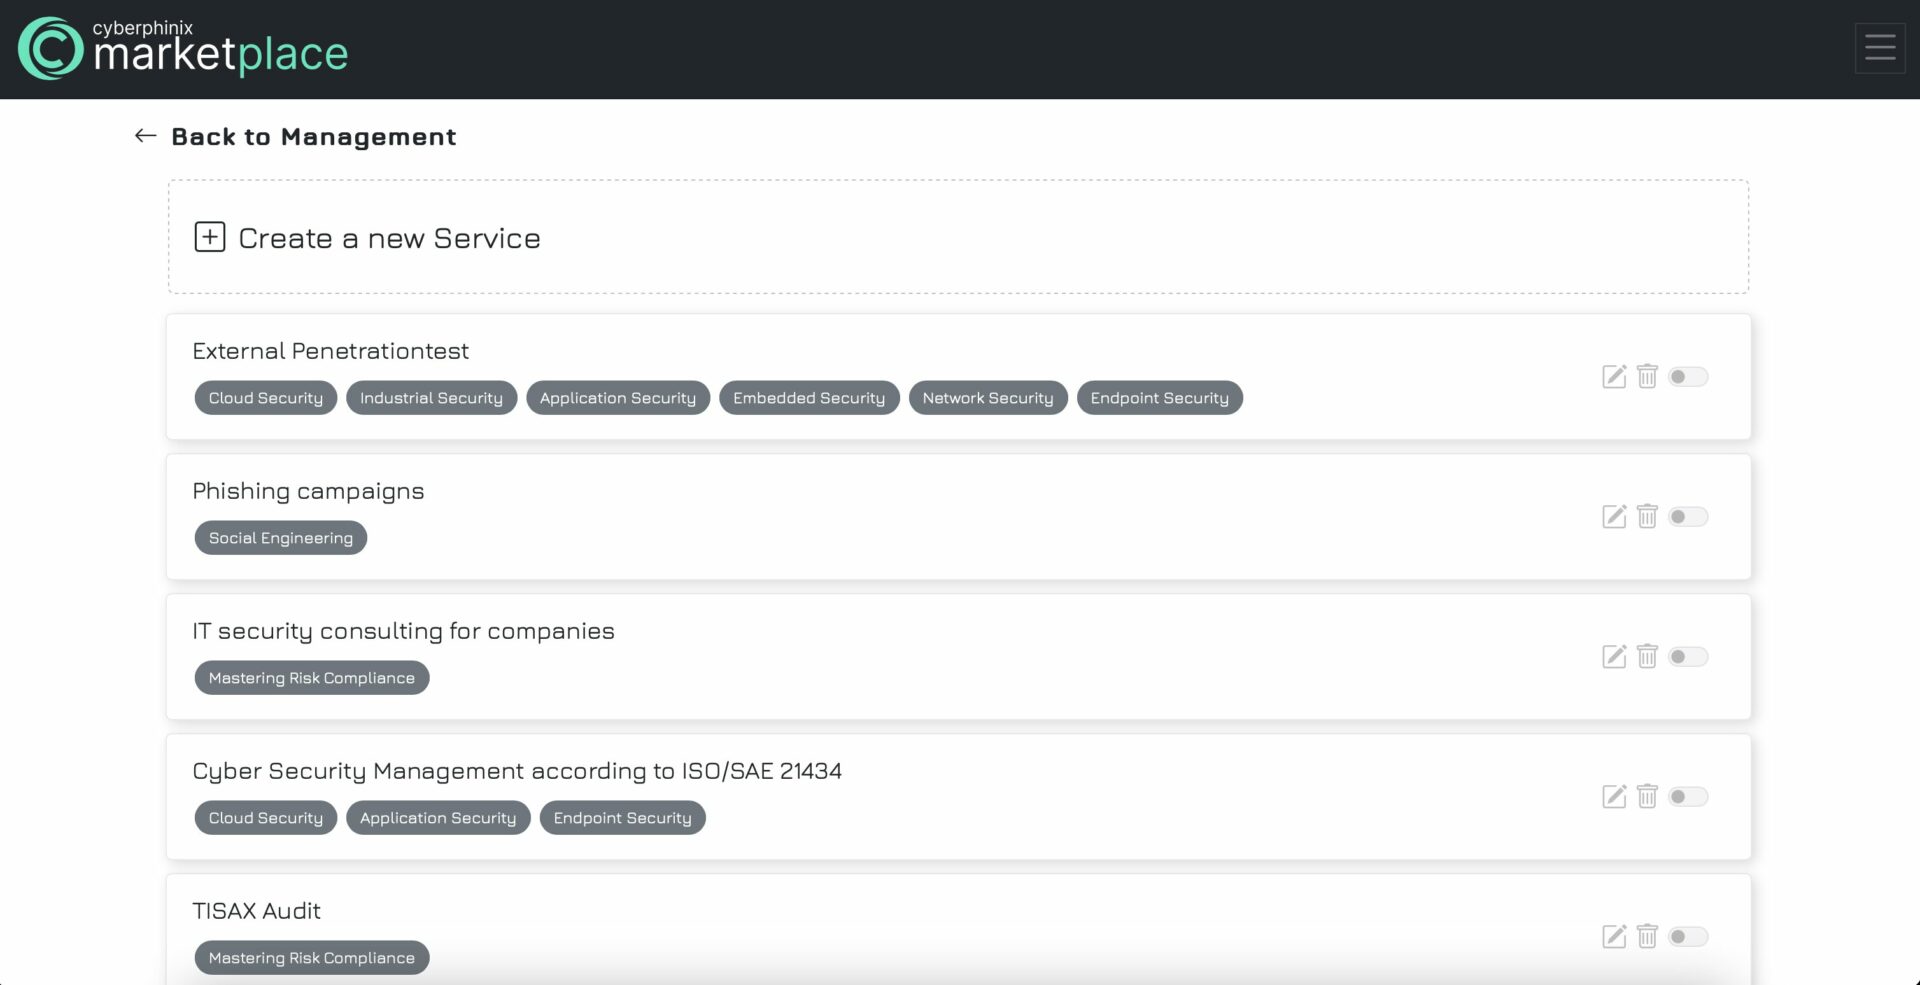

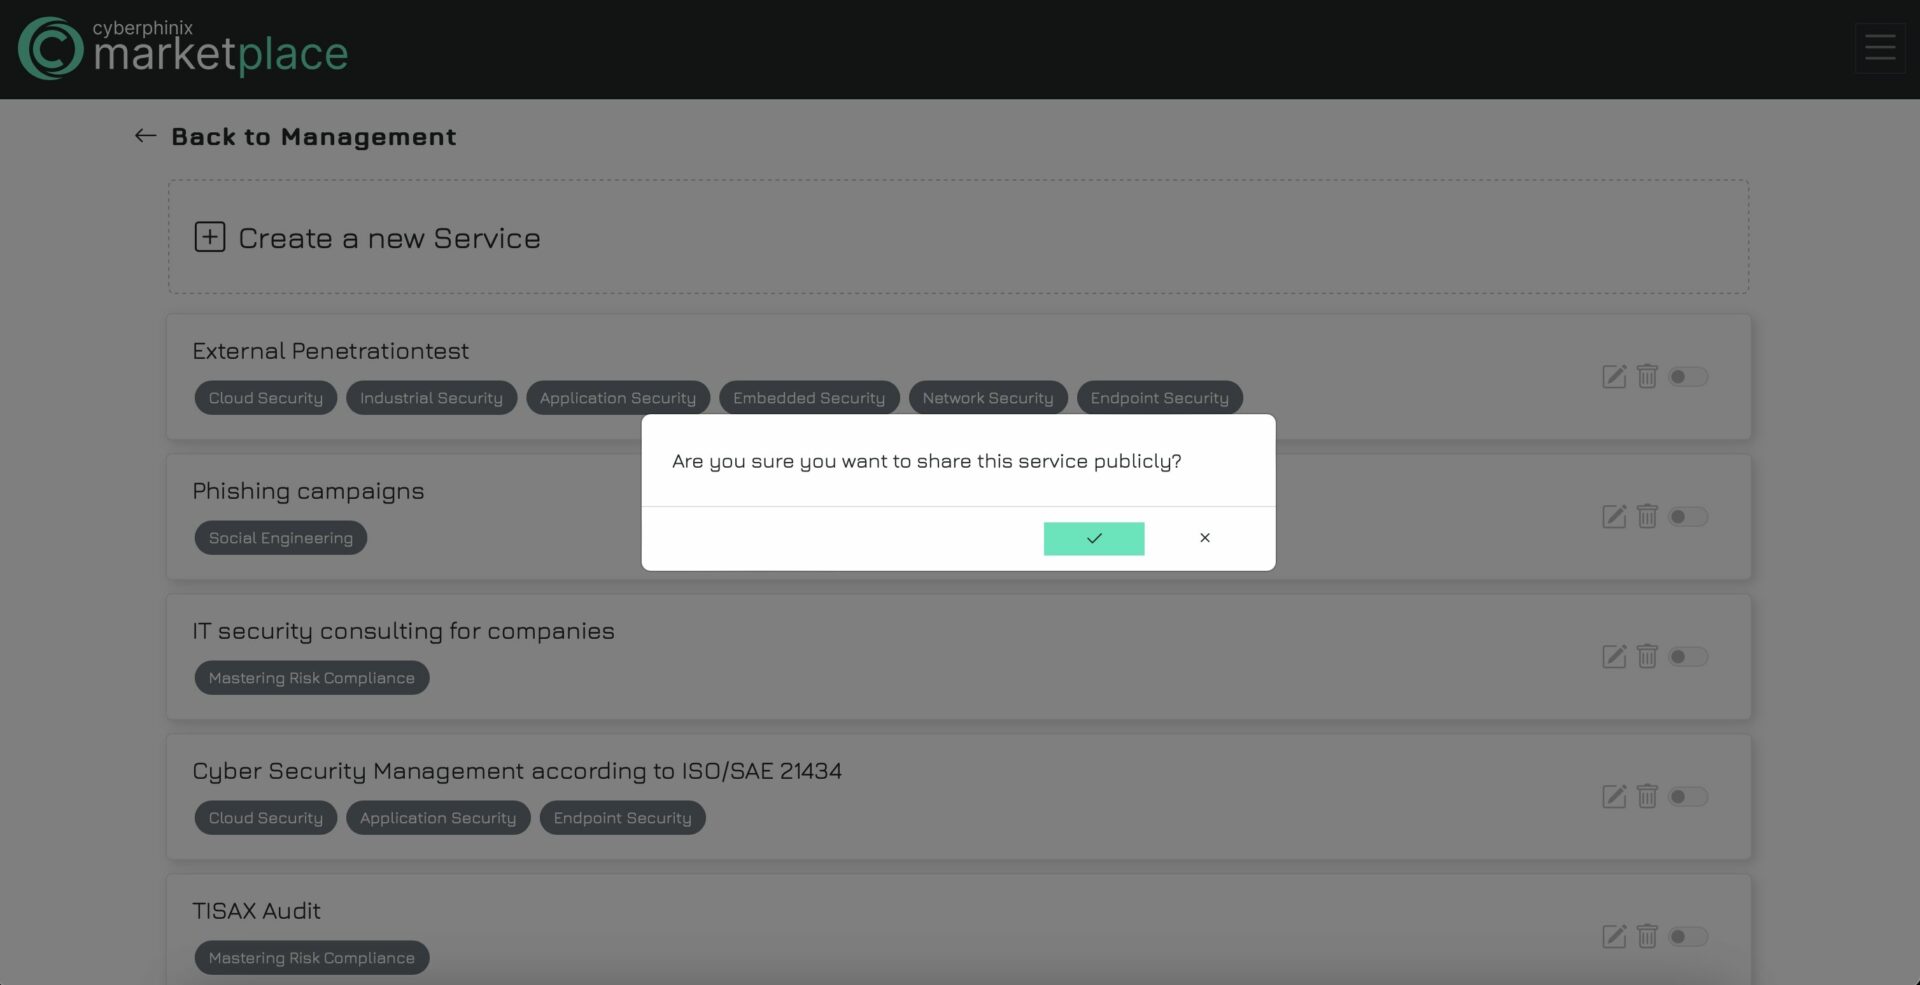
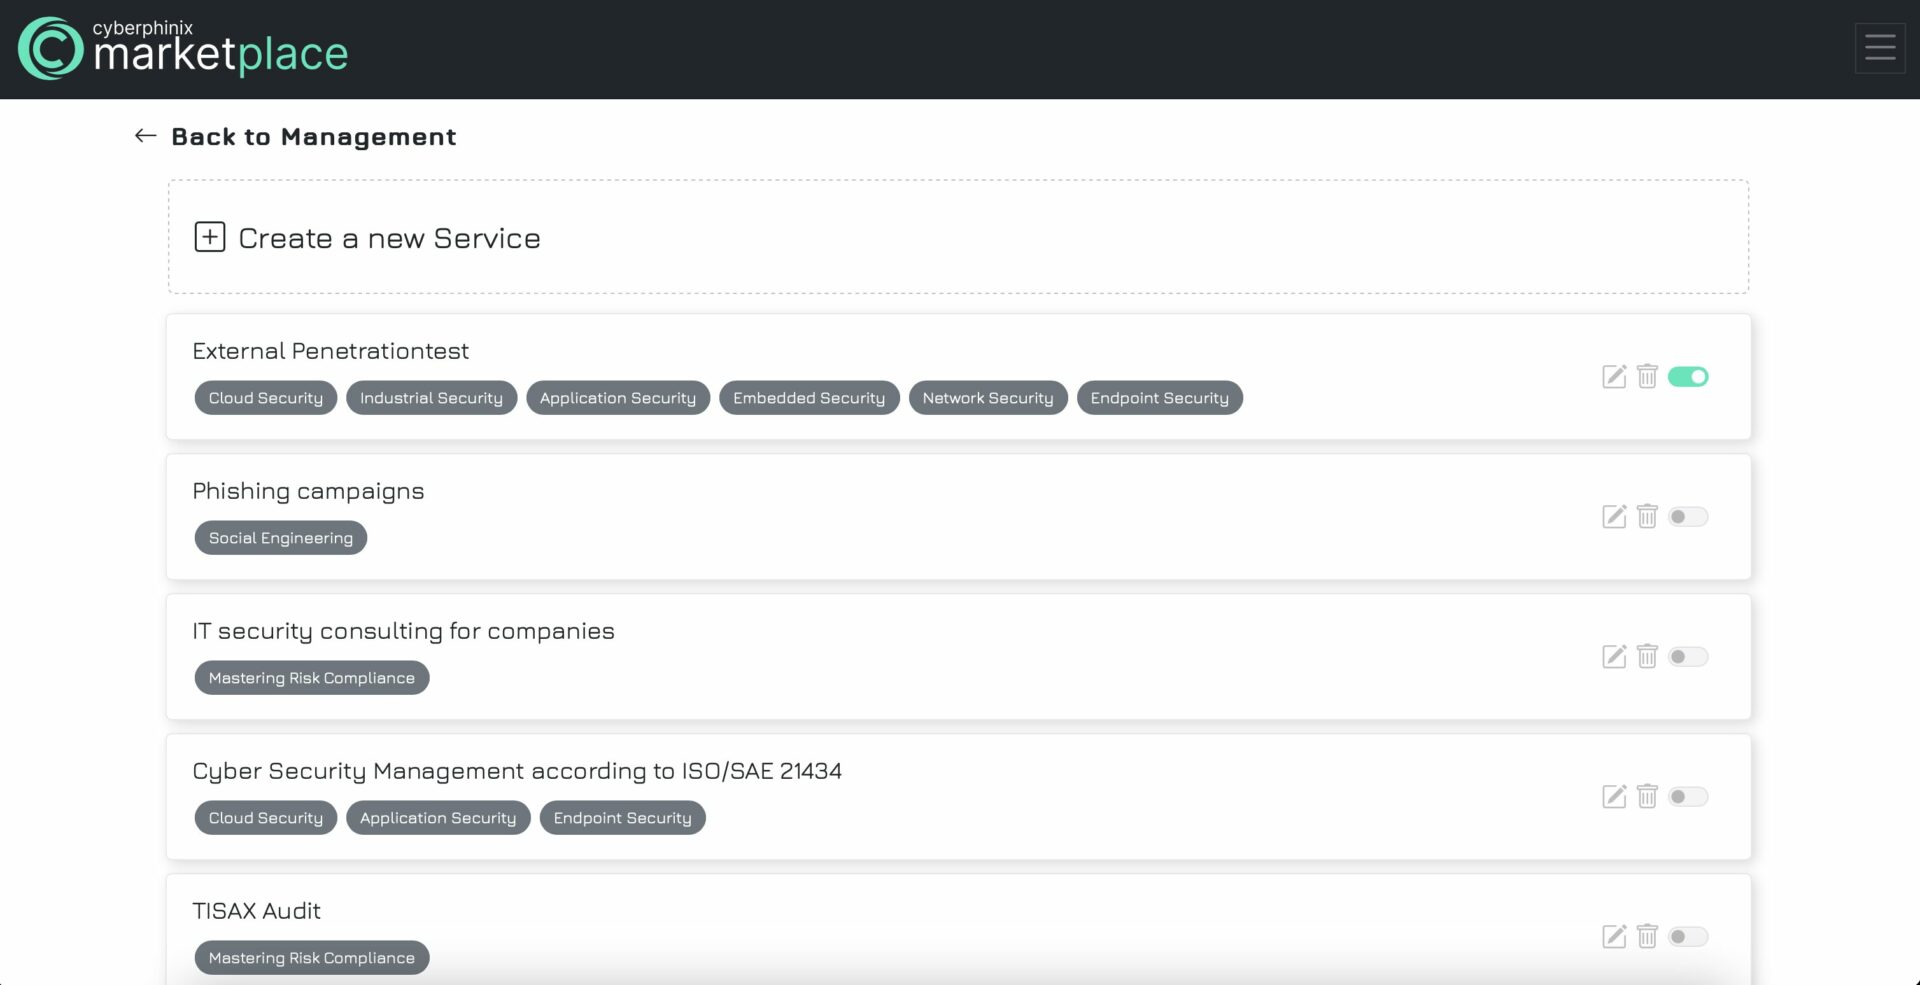
Publish a service
Once you’ve created a service, it will appear in your services list under “My Services.” To make the service visible to the public, toggle the button on the right-hand side. If the button is not colored, it indicates that the service is not yet published. After clicking the publish button, a confirmation prompt will appear. Ensure that your service is ready for publication. If it is, click the check button to confirm. Now it is visible to all users.
Edit a service
To edit an existing service, select the button with the pen icon. This action will display the form previously encountered during service creation, containing all the filled information of the service. Proceed to make the necessary edits to your service and then click “Save” at the bottom. Any changes made will be immediately visible to users if the service is already published.
Delete a service
To delete a service, simply click on the trash icon located in “My Services”. This action will prompt a confirmation dialogue to appear, where you must confirm your decision to delete the service. Please note that the deletion is irreversible.

Vacancies
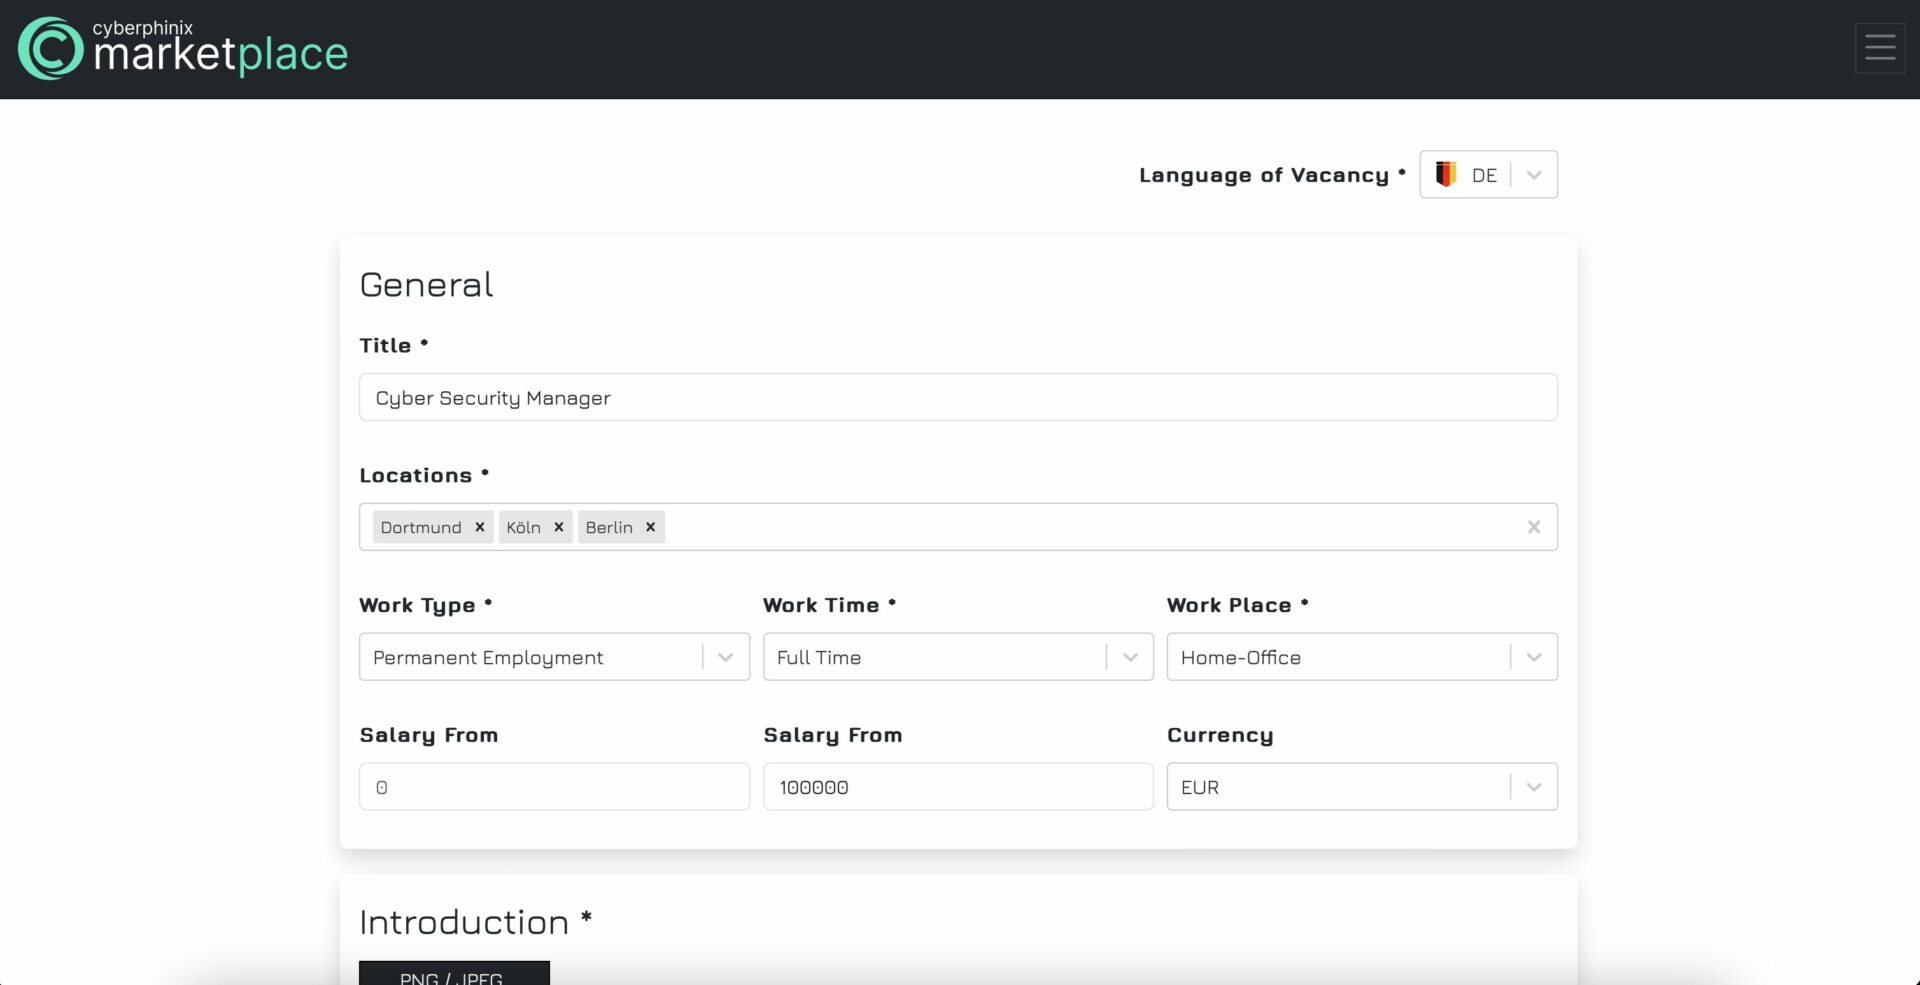
Create a vacancy
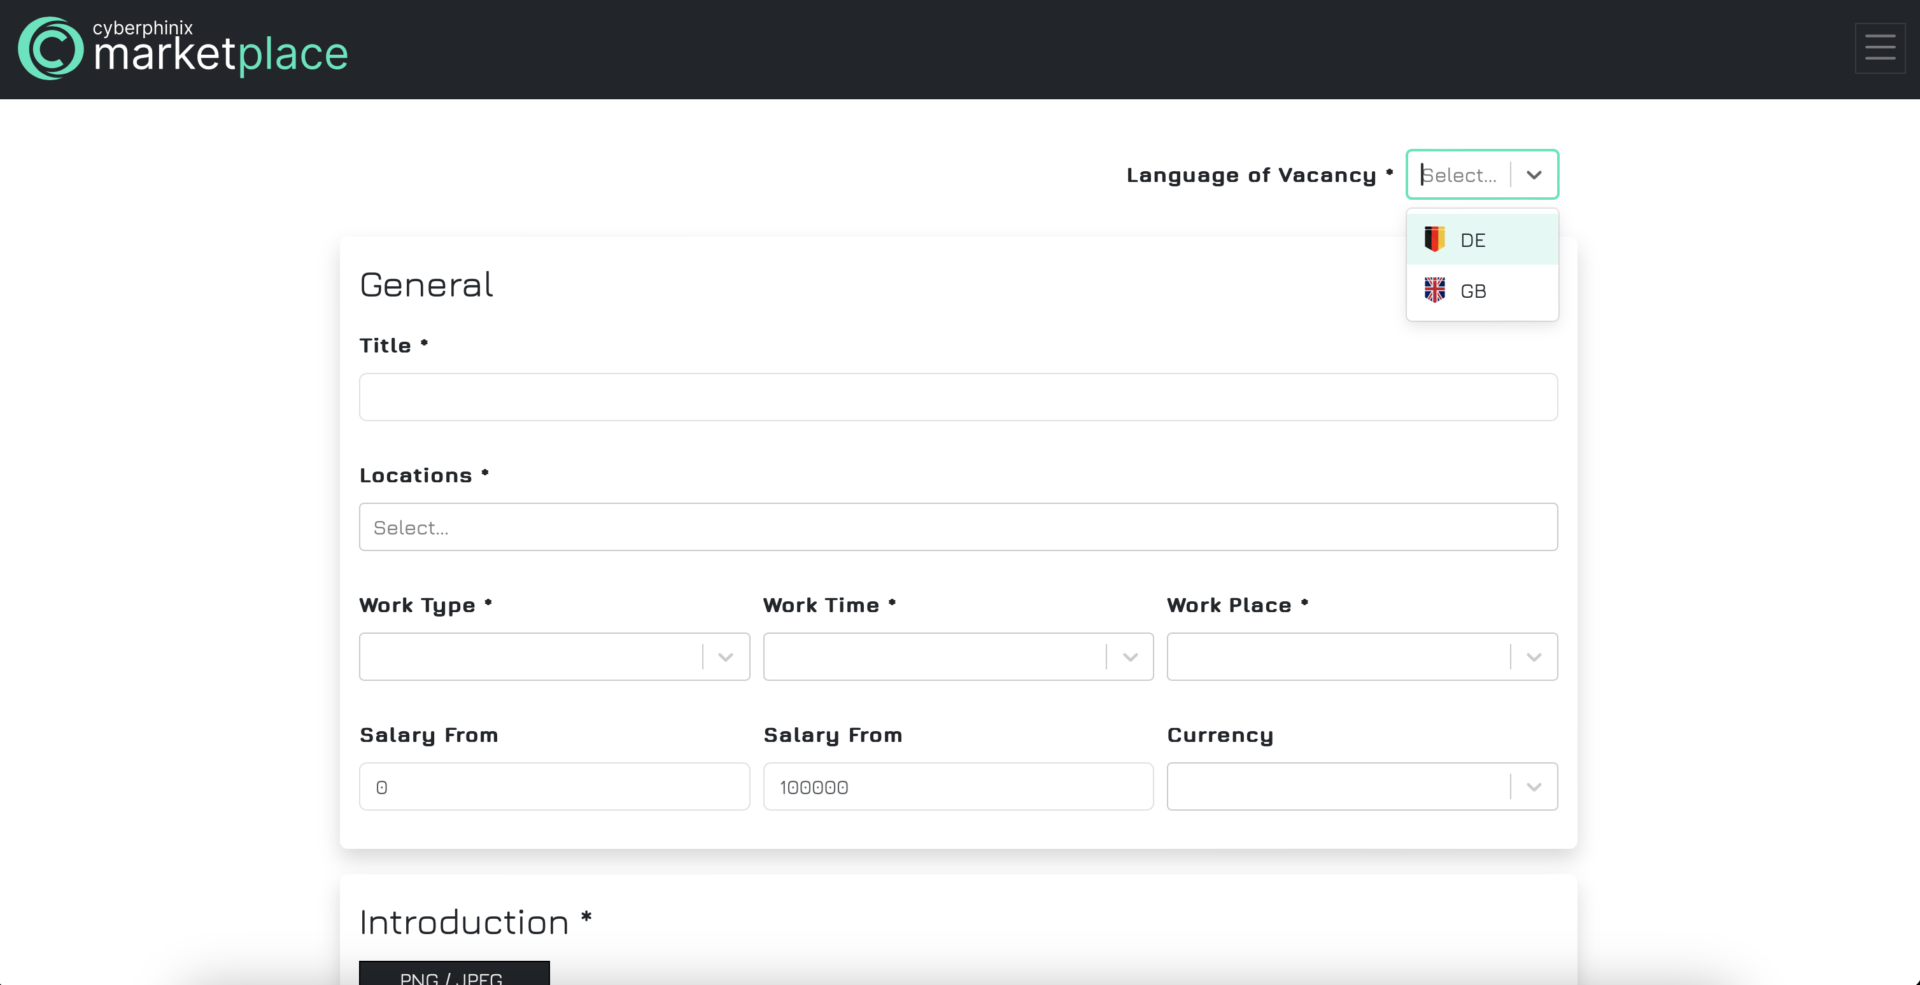
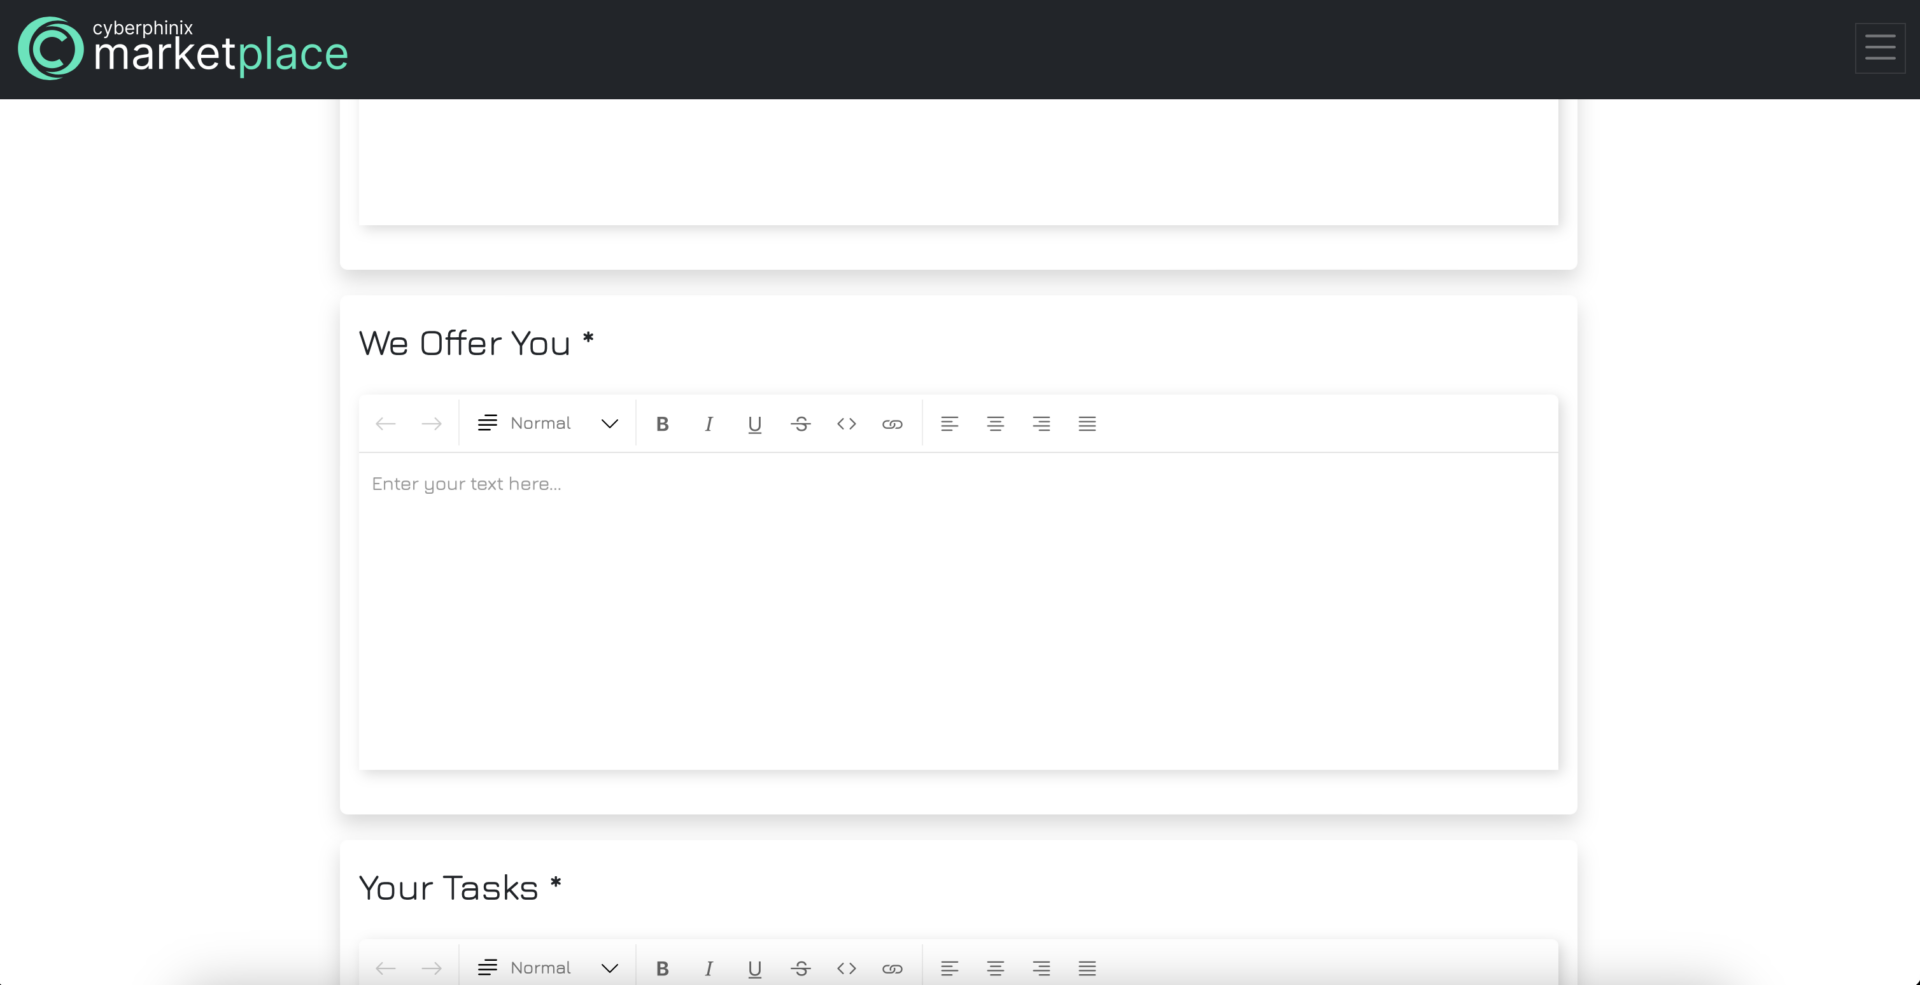
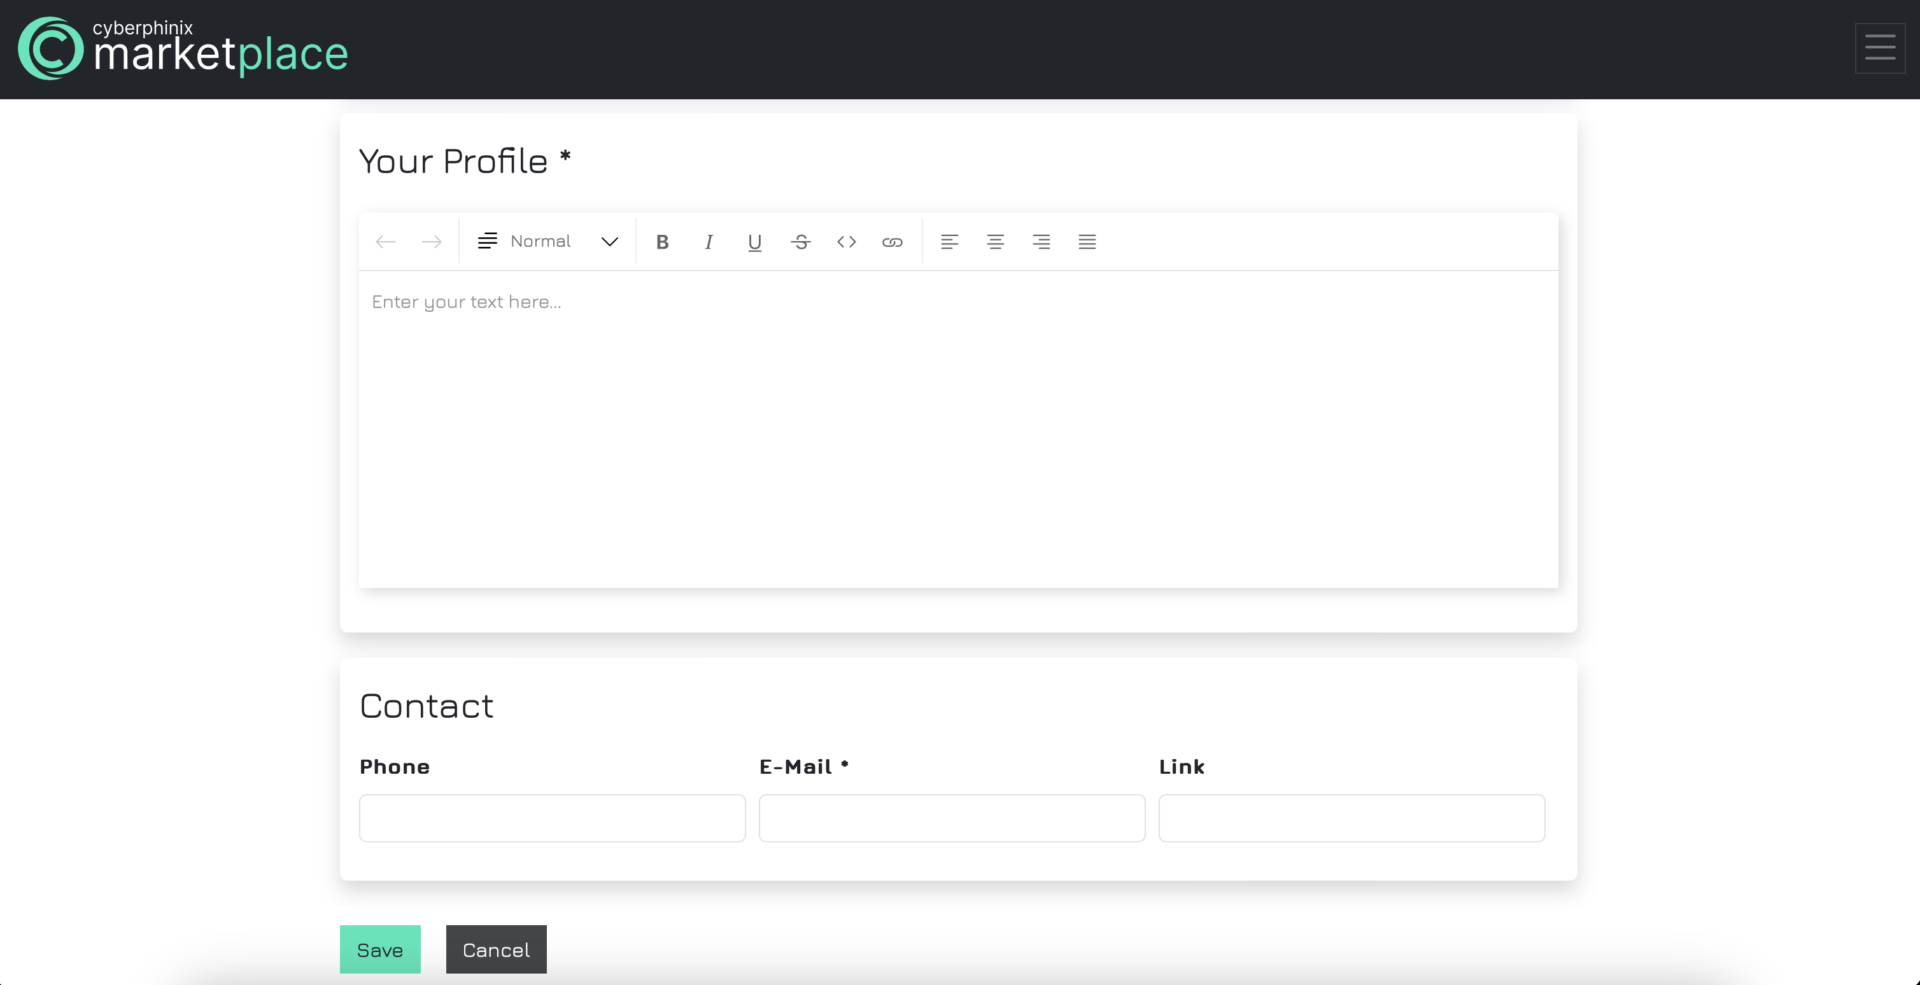
To create a vacancy, navigate to “My Vacancies” under “Management” and select “Create a New Vacancy.” Proceed to fill out all required fields, indicated by an asterisk. Finally, save the vacancy to complete the creation process.
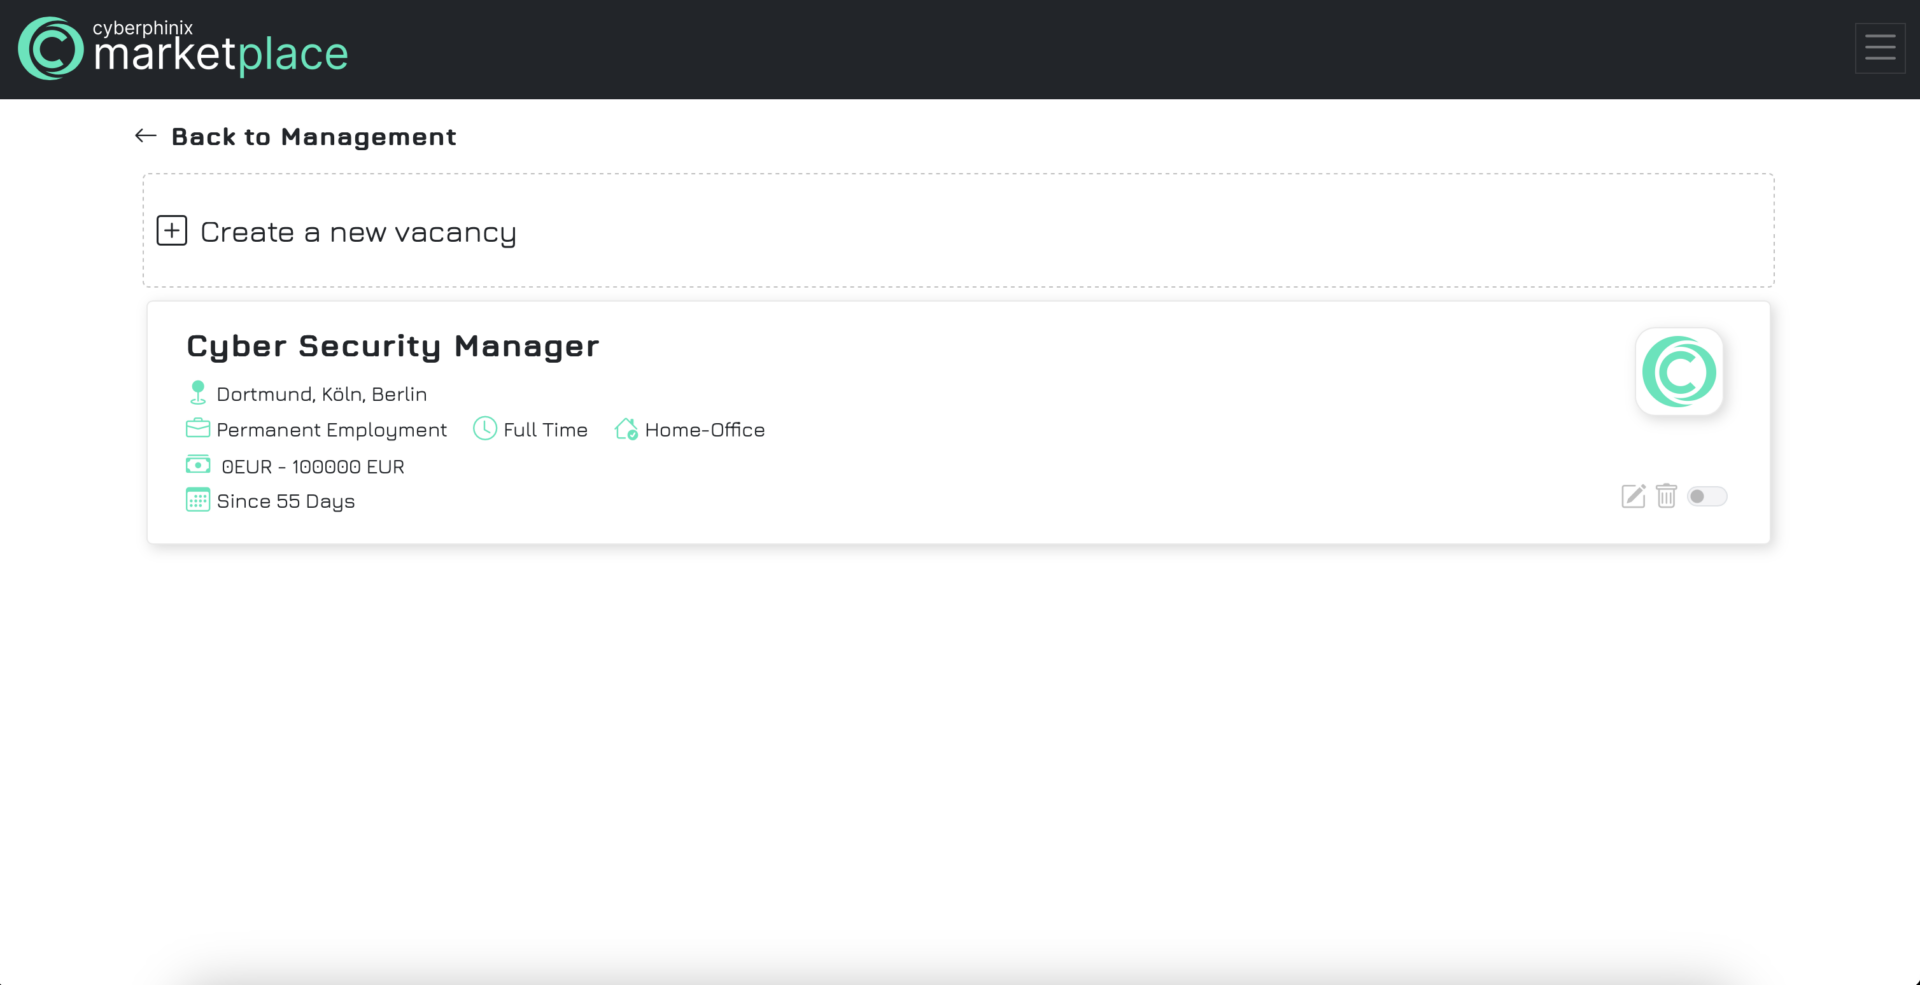


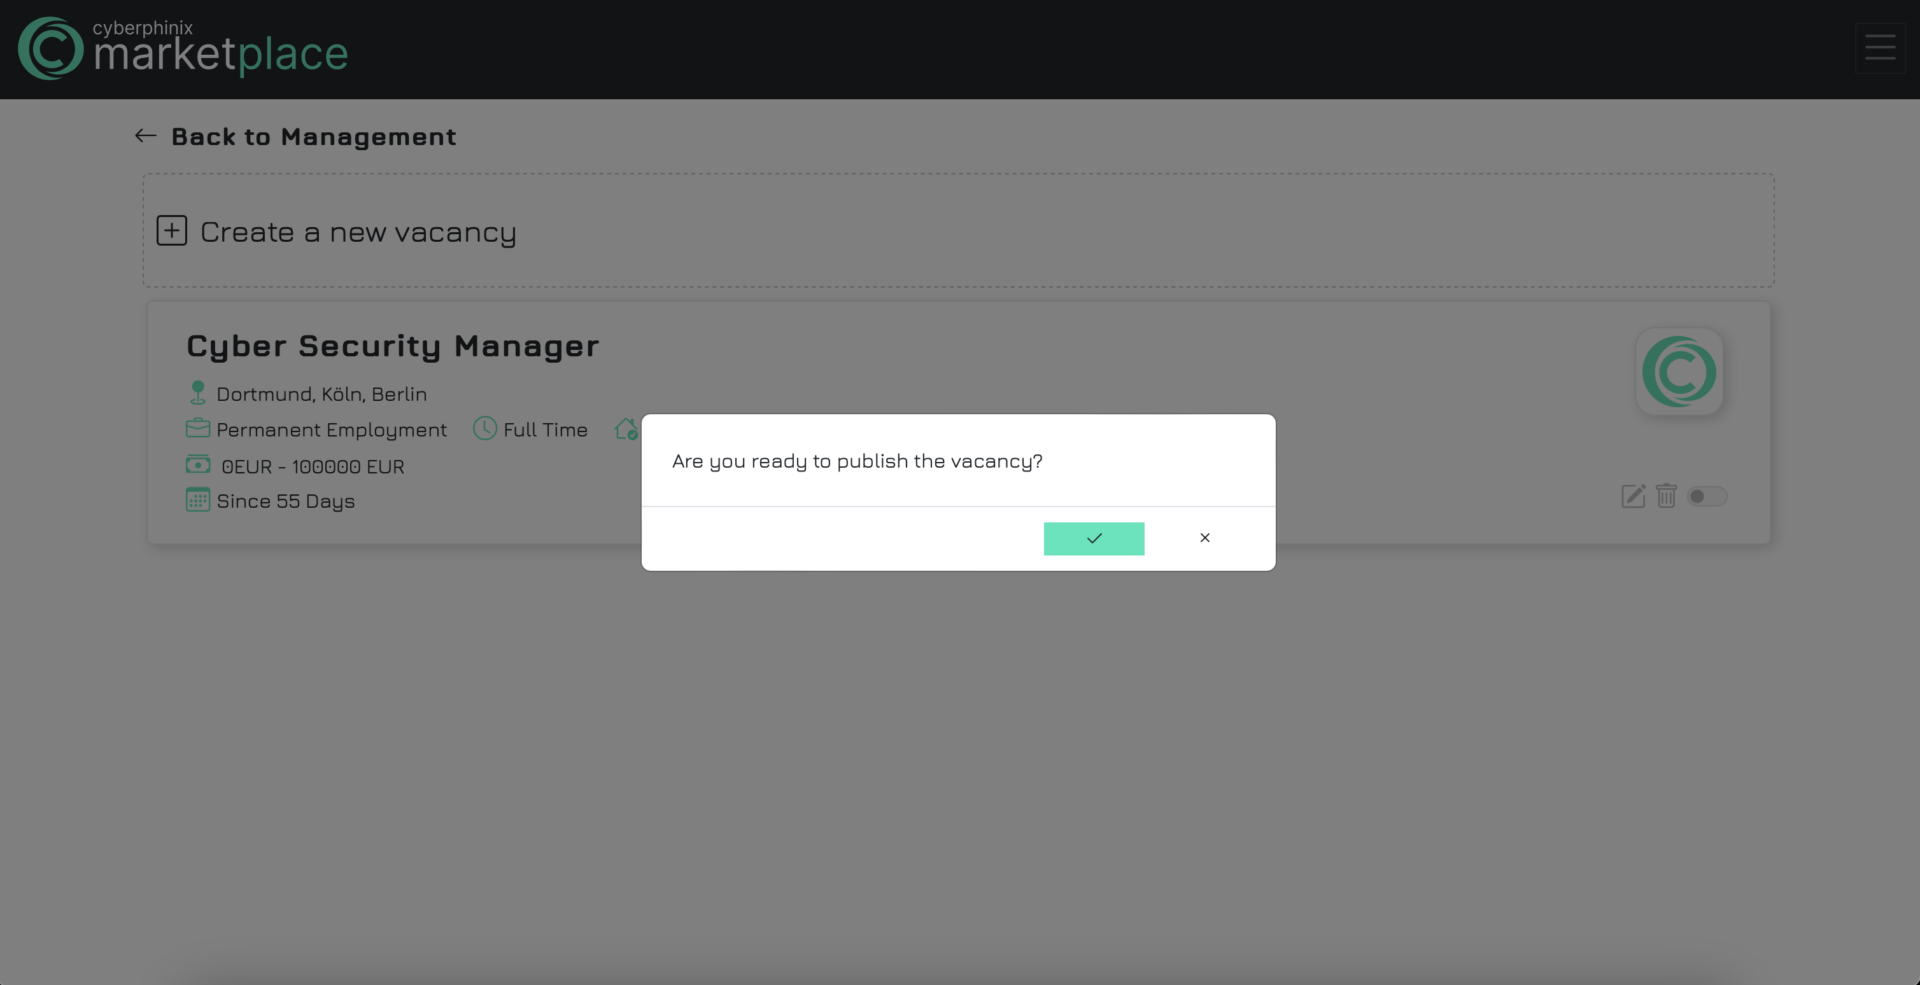
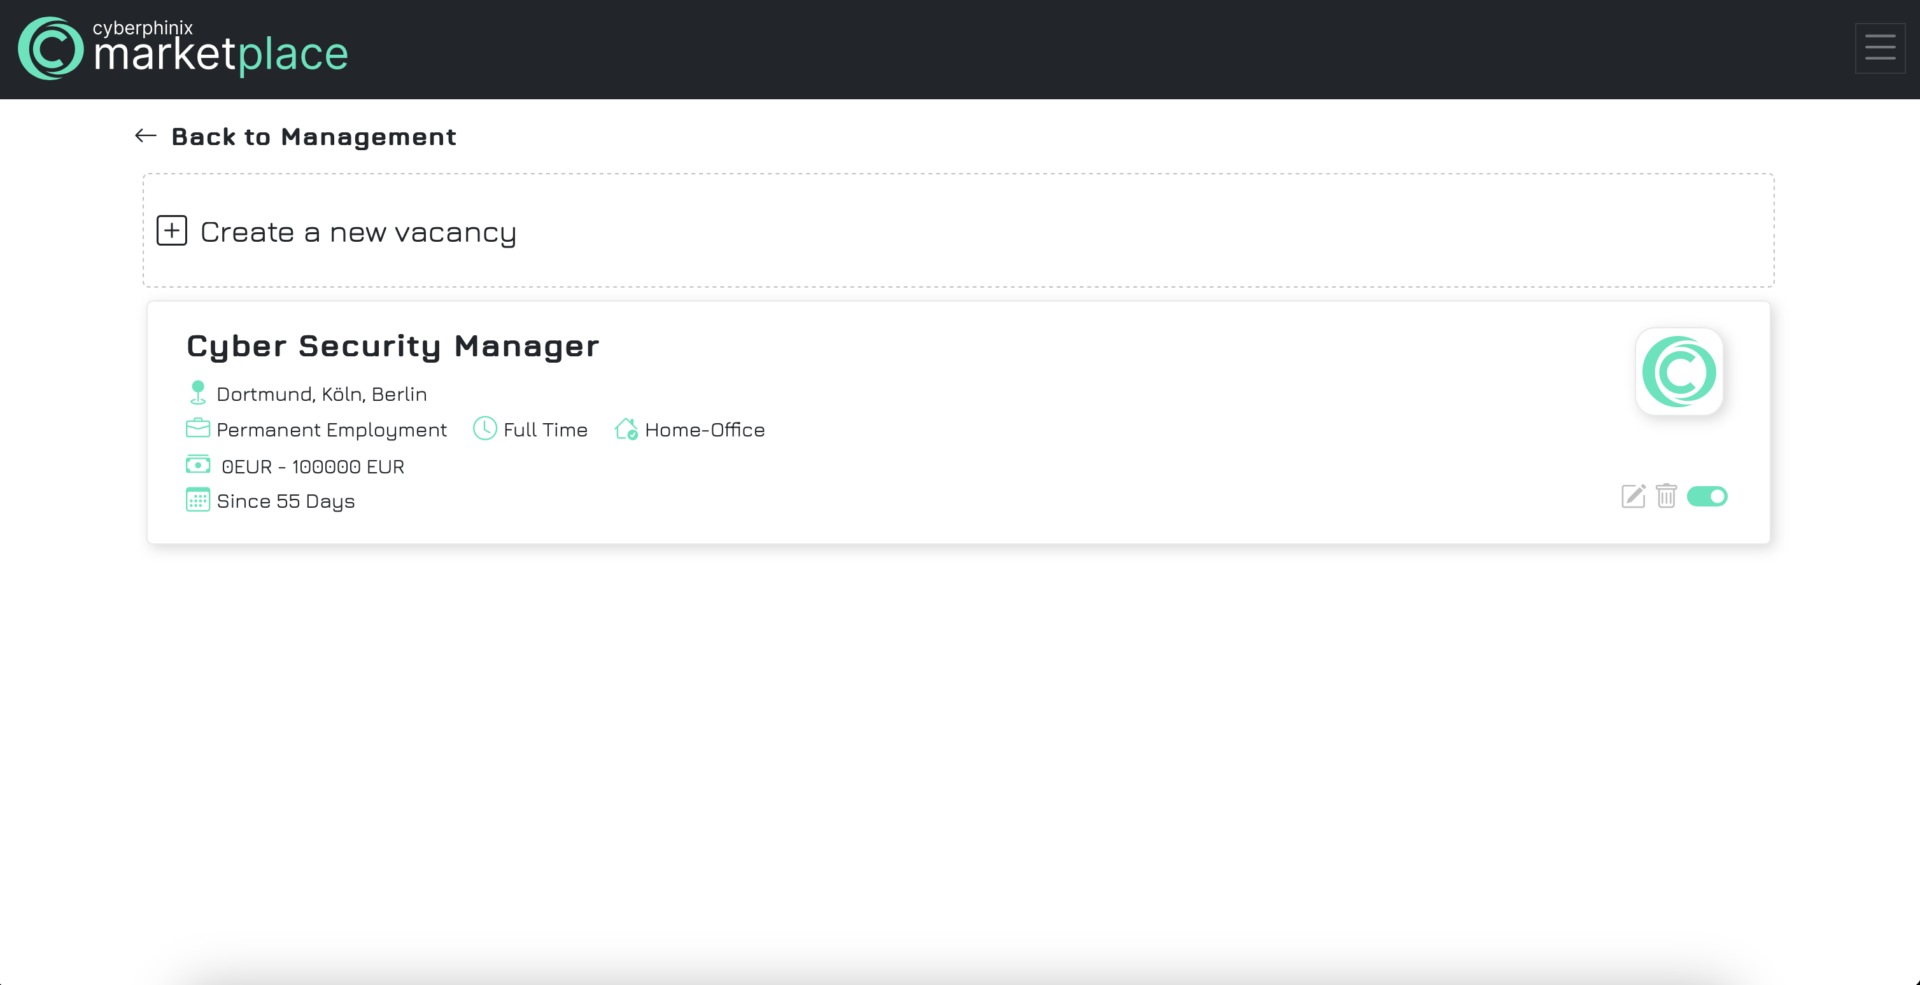
Publish a vacancy
As described previously for services, a vacancy must also be published to be visible to all users publicly. Simply click on the toggle button and confirm the publication.
Edit a vacancy
The process for editing a vacancy is identical to that of services. Click on the button with the pen icon to access the vacancy form, which will be pre-filled with the vacancy’s data. You can then make your changes and save them accordingly. Changes will be immediately reflected for already published vacancies.
Delete a vacancy
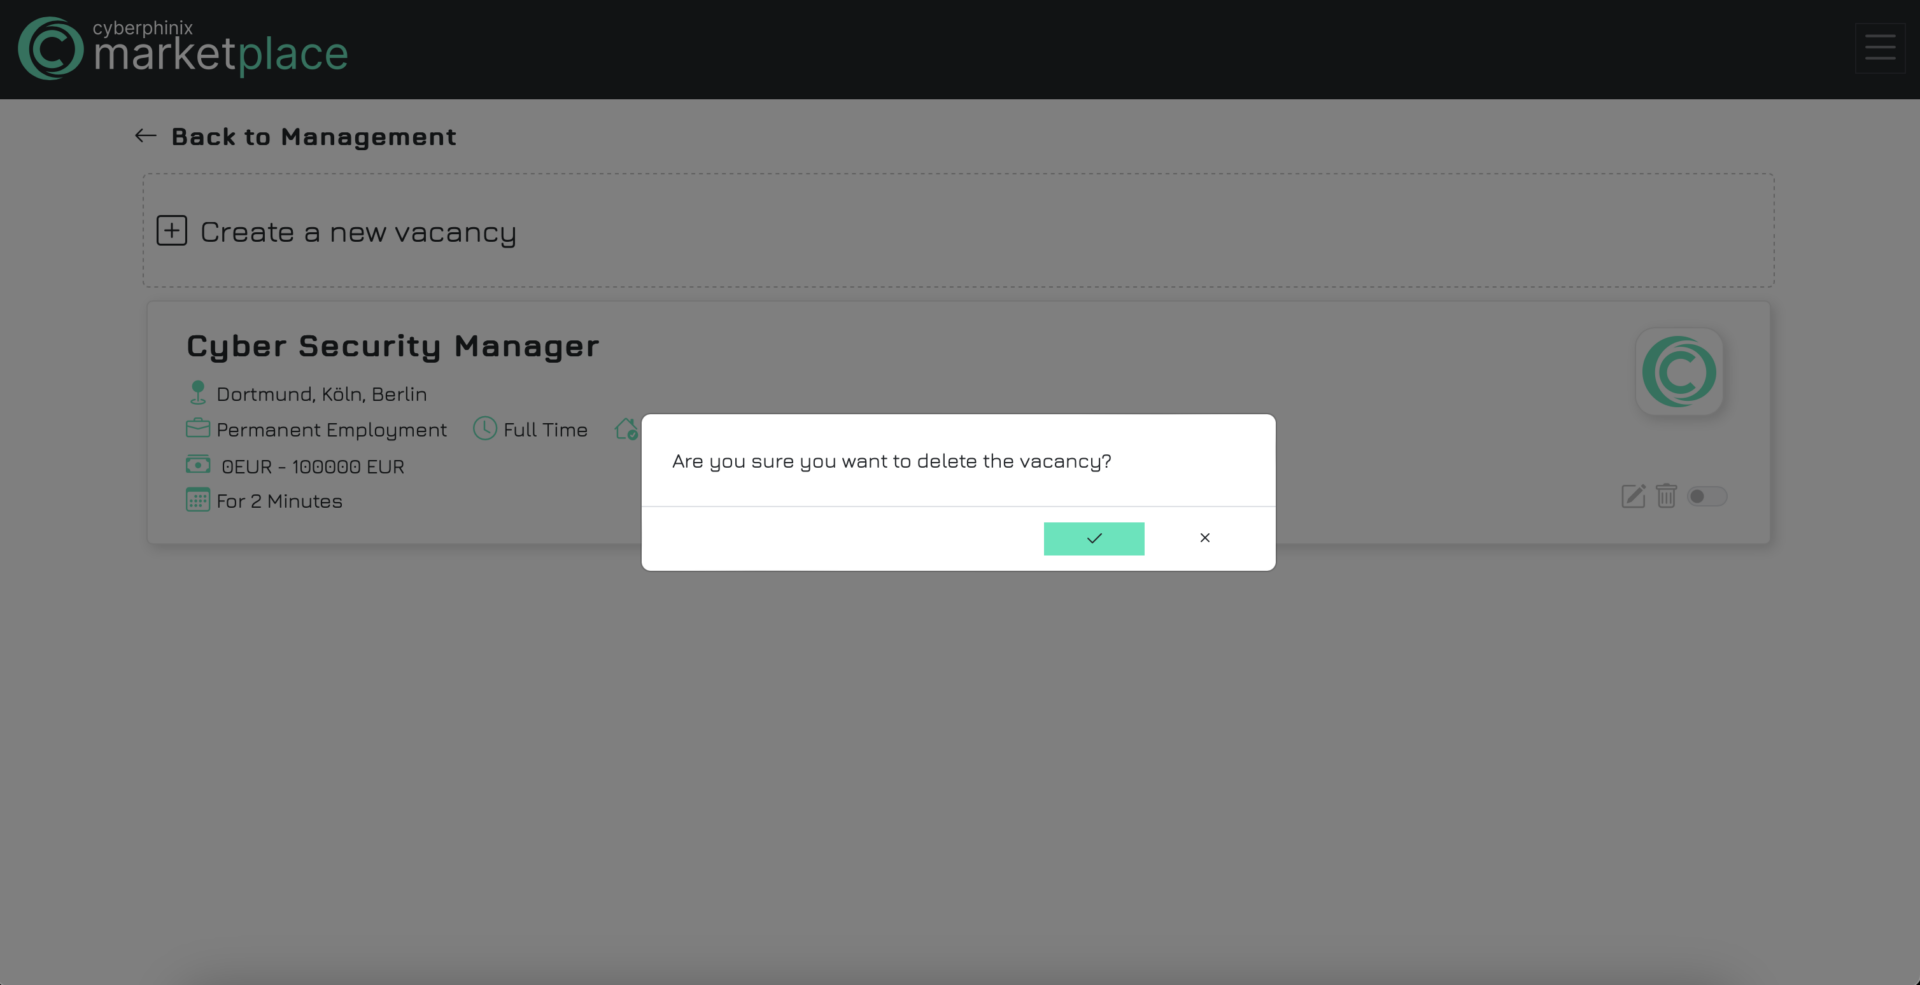
Currently, vacancies do not expire automatically. You must explicitly ensure that a vacancy is deleted. To do so, press the trash bin icon under “My Vacancies” and confirm the deletion. The vacancy will then be permanently removed from your list of vacancies.
Cyber Insurance
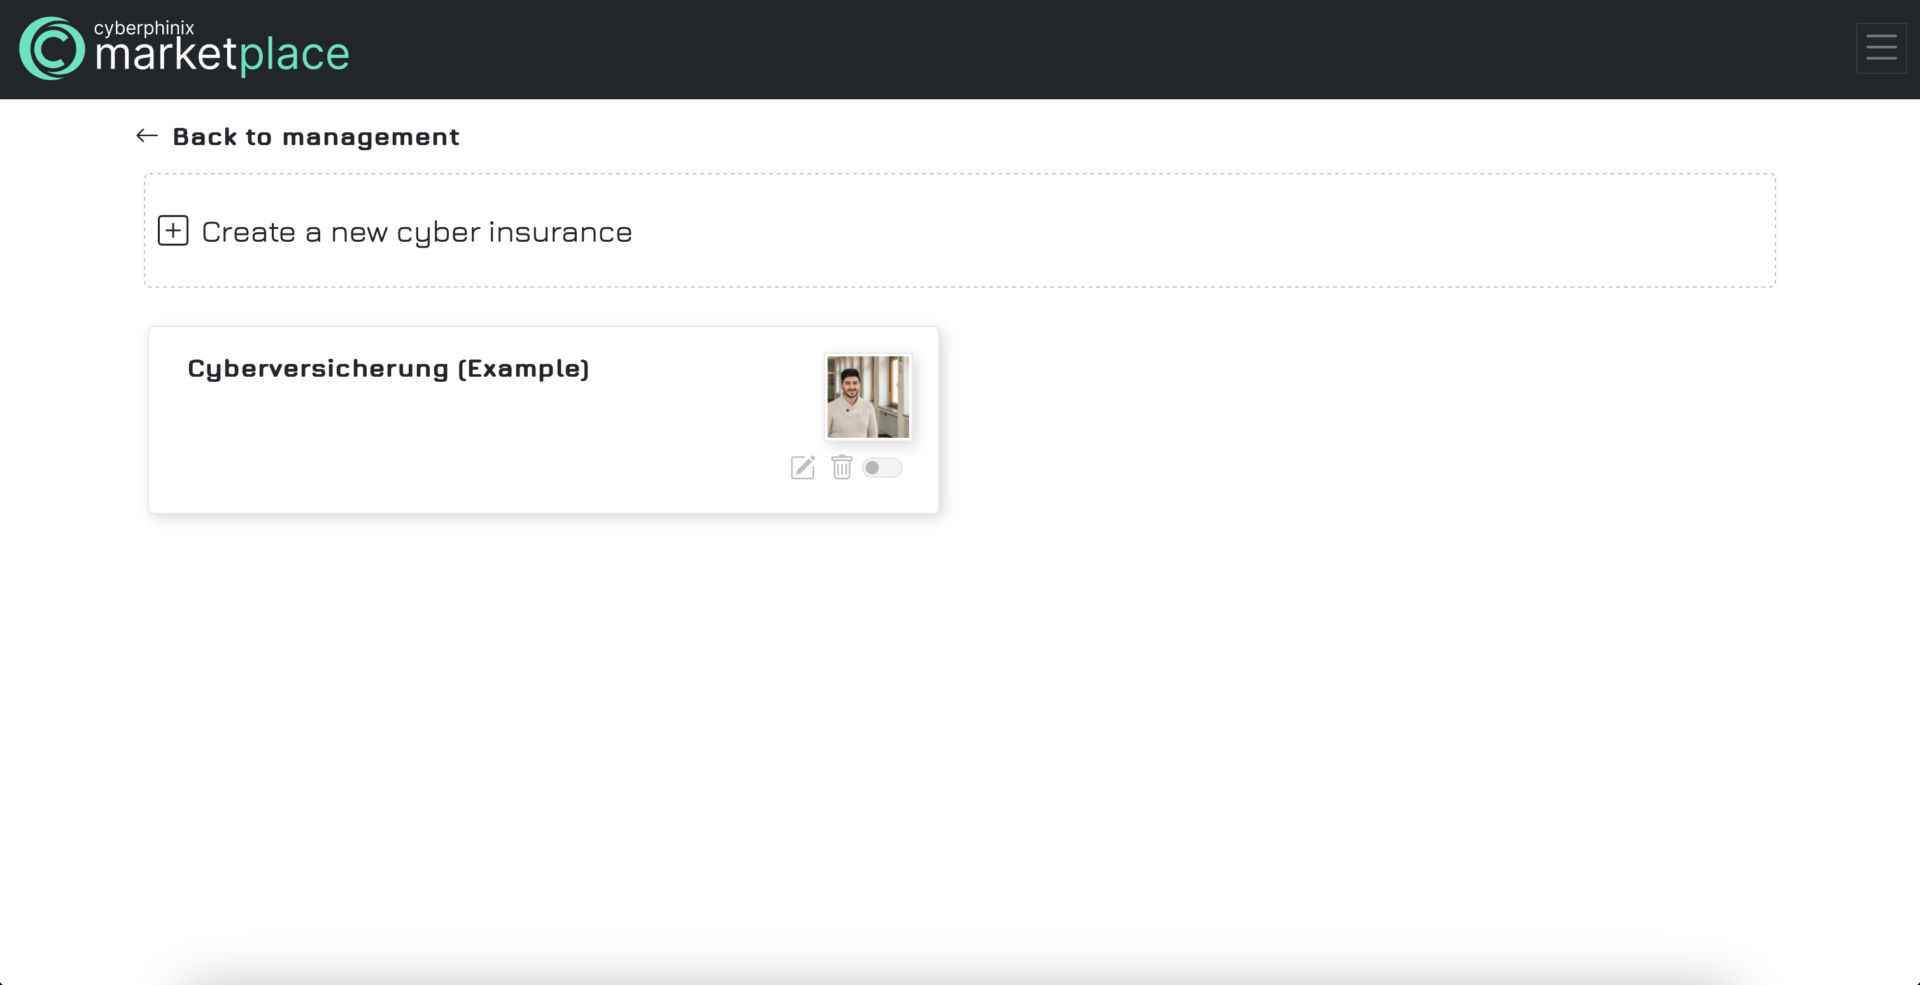
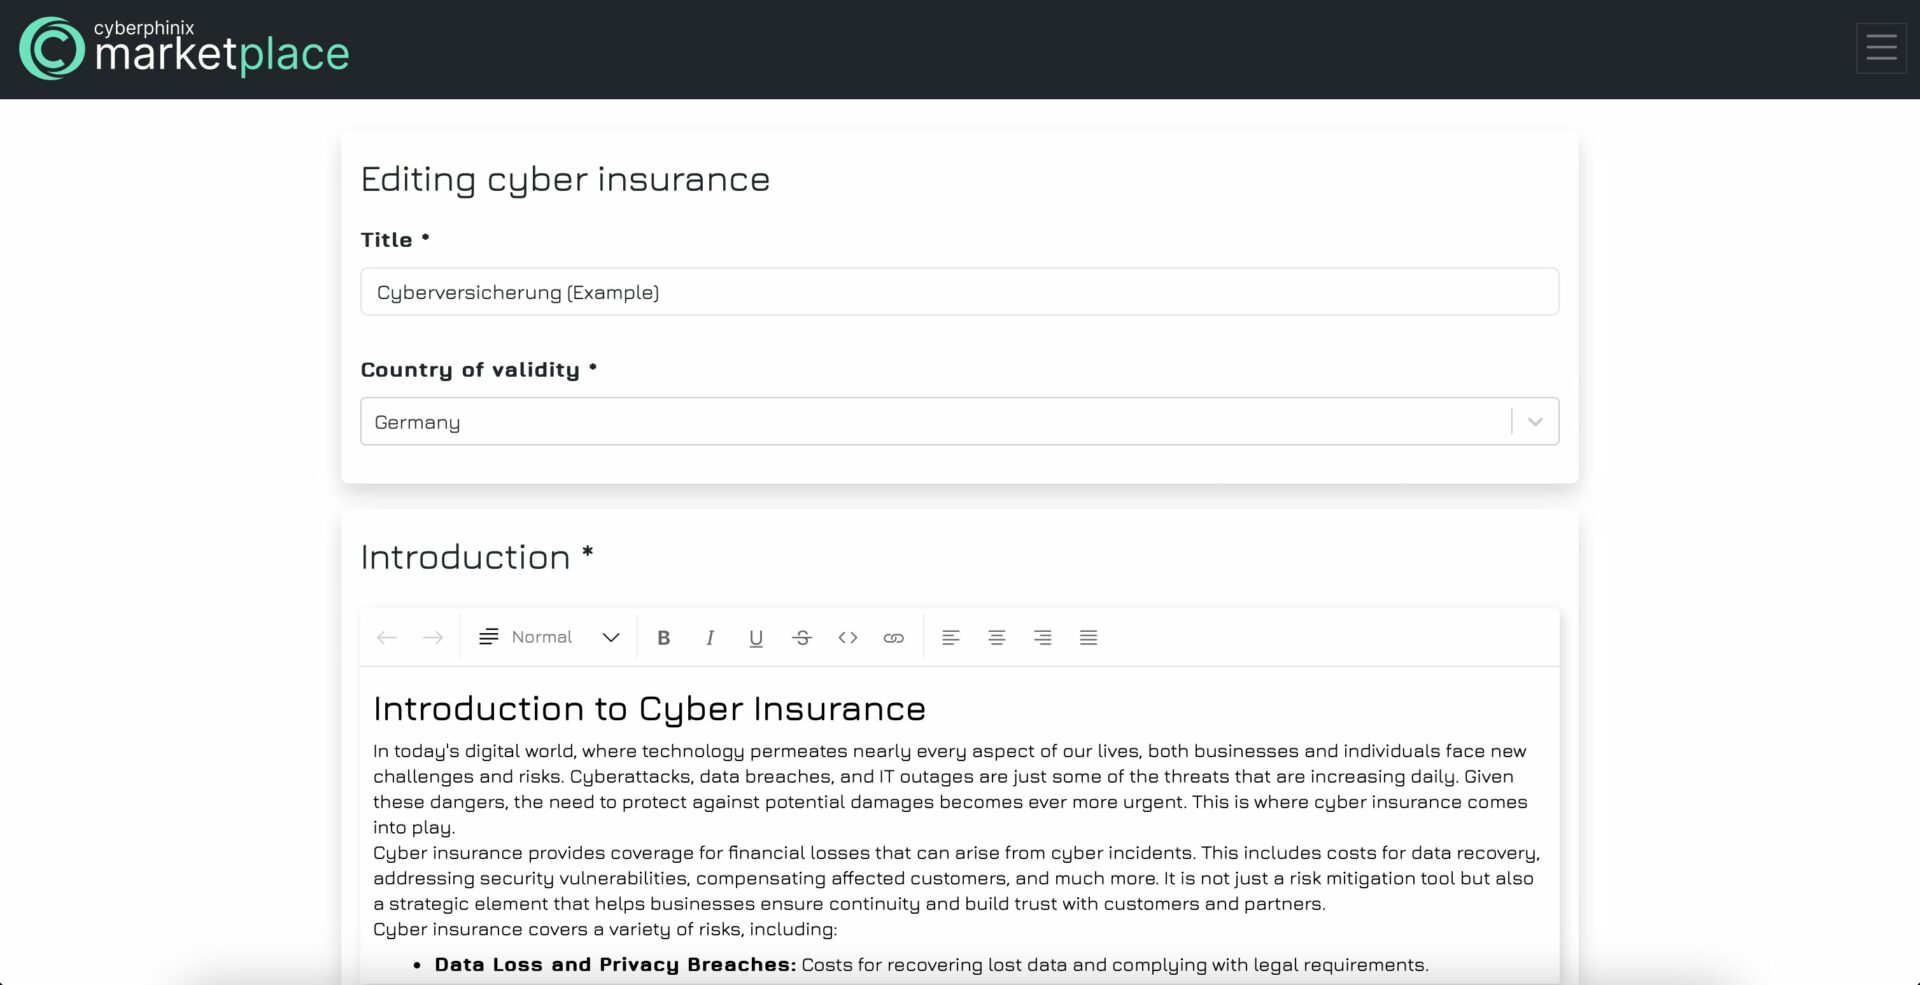
Create cyber insurance
To create a cyber insurance, navigate to “My insurances” under ” Management” and select “Create new cyber insurance”. Complete at least all the required fields marked with an asterisk. Finally, save the cyber insurance to complete the creation process.

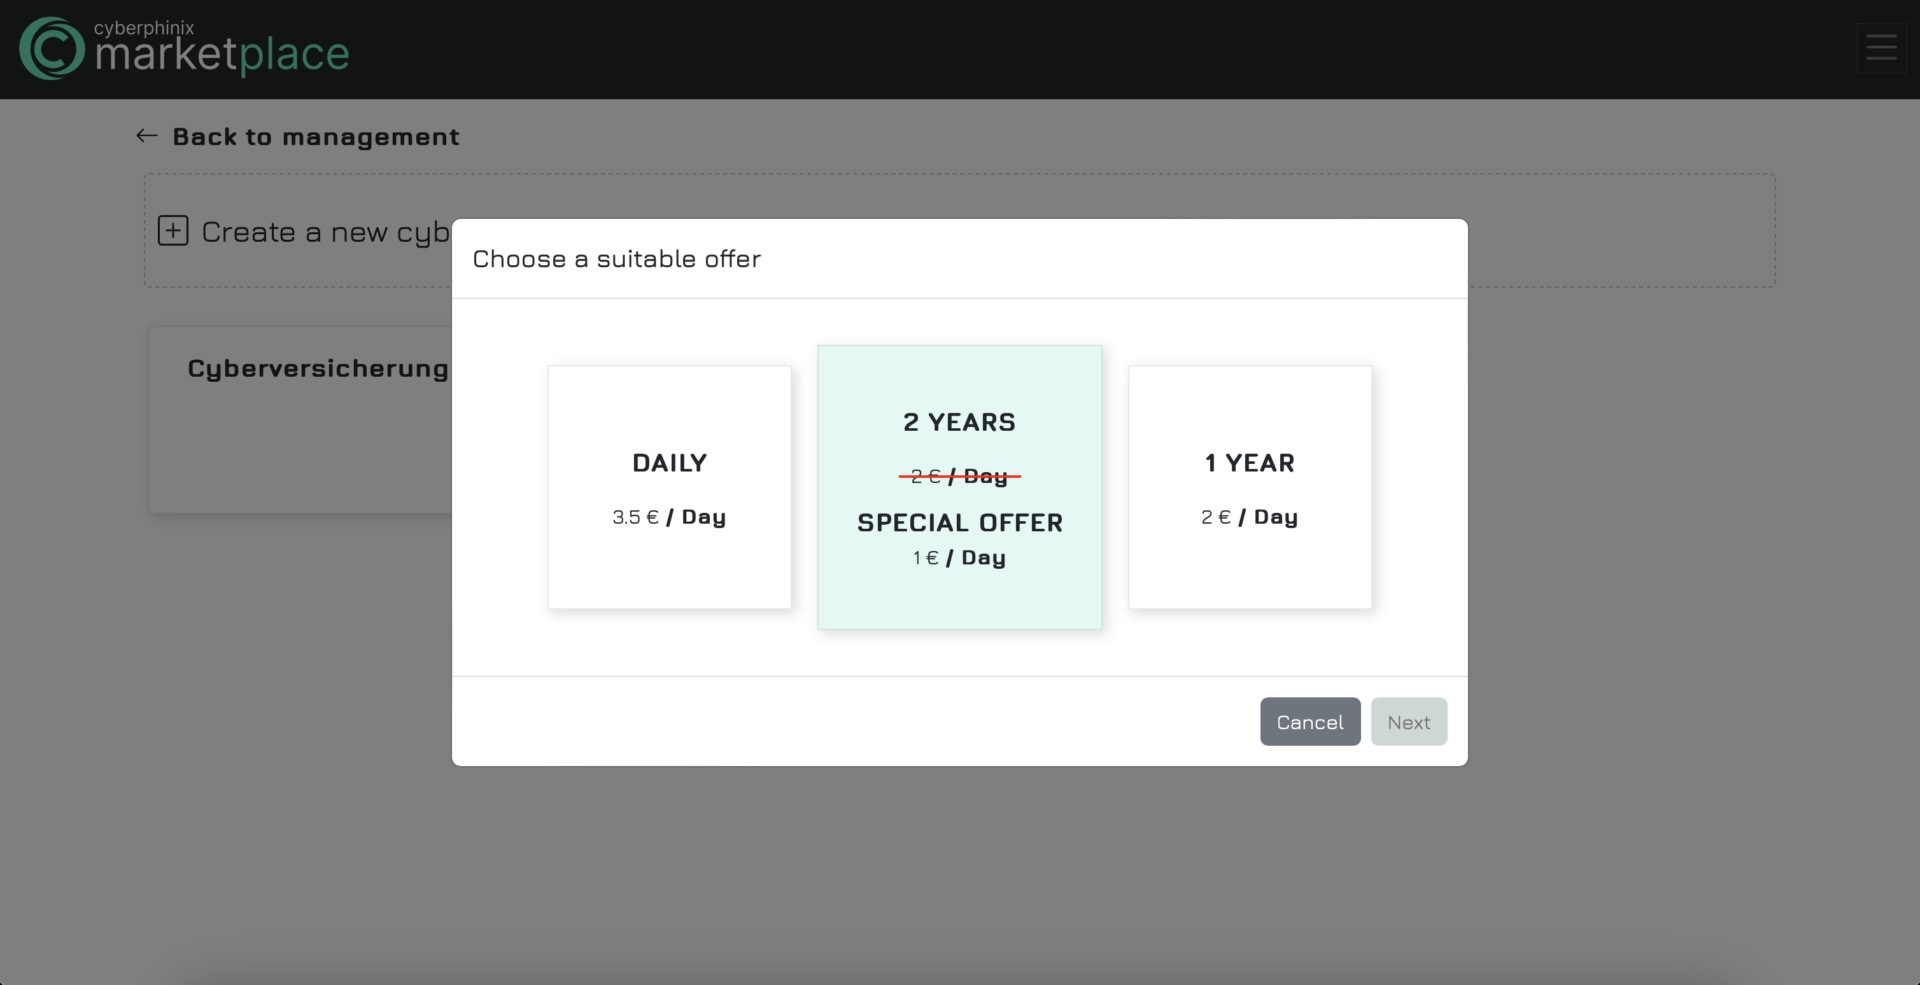
Publish cyber insurance
As already described for the services, cyber insurance must also be published so that it is publicly visible to all users. Simply click on the toggle button. As the publication of cyber insurance is subject to a fee, you will be asked to make a payment to make your cyber insurance publicly visible. Select the appropriate package and make the payment.
Important: Publication cannot be reversed. If you want to remove the offer or no longer want it to be visible for any other reason, you must delete the cyber insurance. Please note that deleting the cyber insurance means that no costs will be refunded. Therefore, be careful not to delete the cyber insurance by mistake.
Edit cyber insurance
The procedure for processing cyber insurance is identical to that for benefits. Click on the button with the pencil icon to call up the cyber insurance form, which is already filled in with the cyber insurance data. You can then make your changes and save them accordingly. For cyber insurance policies that have already been published, the changes are applied and displayed immediately.
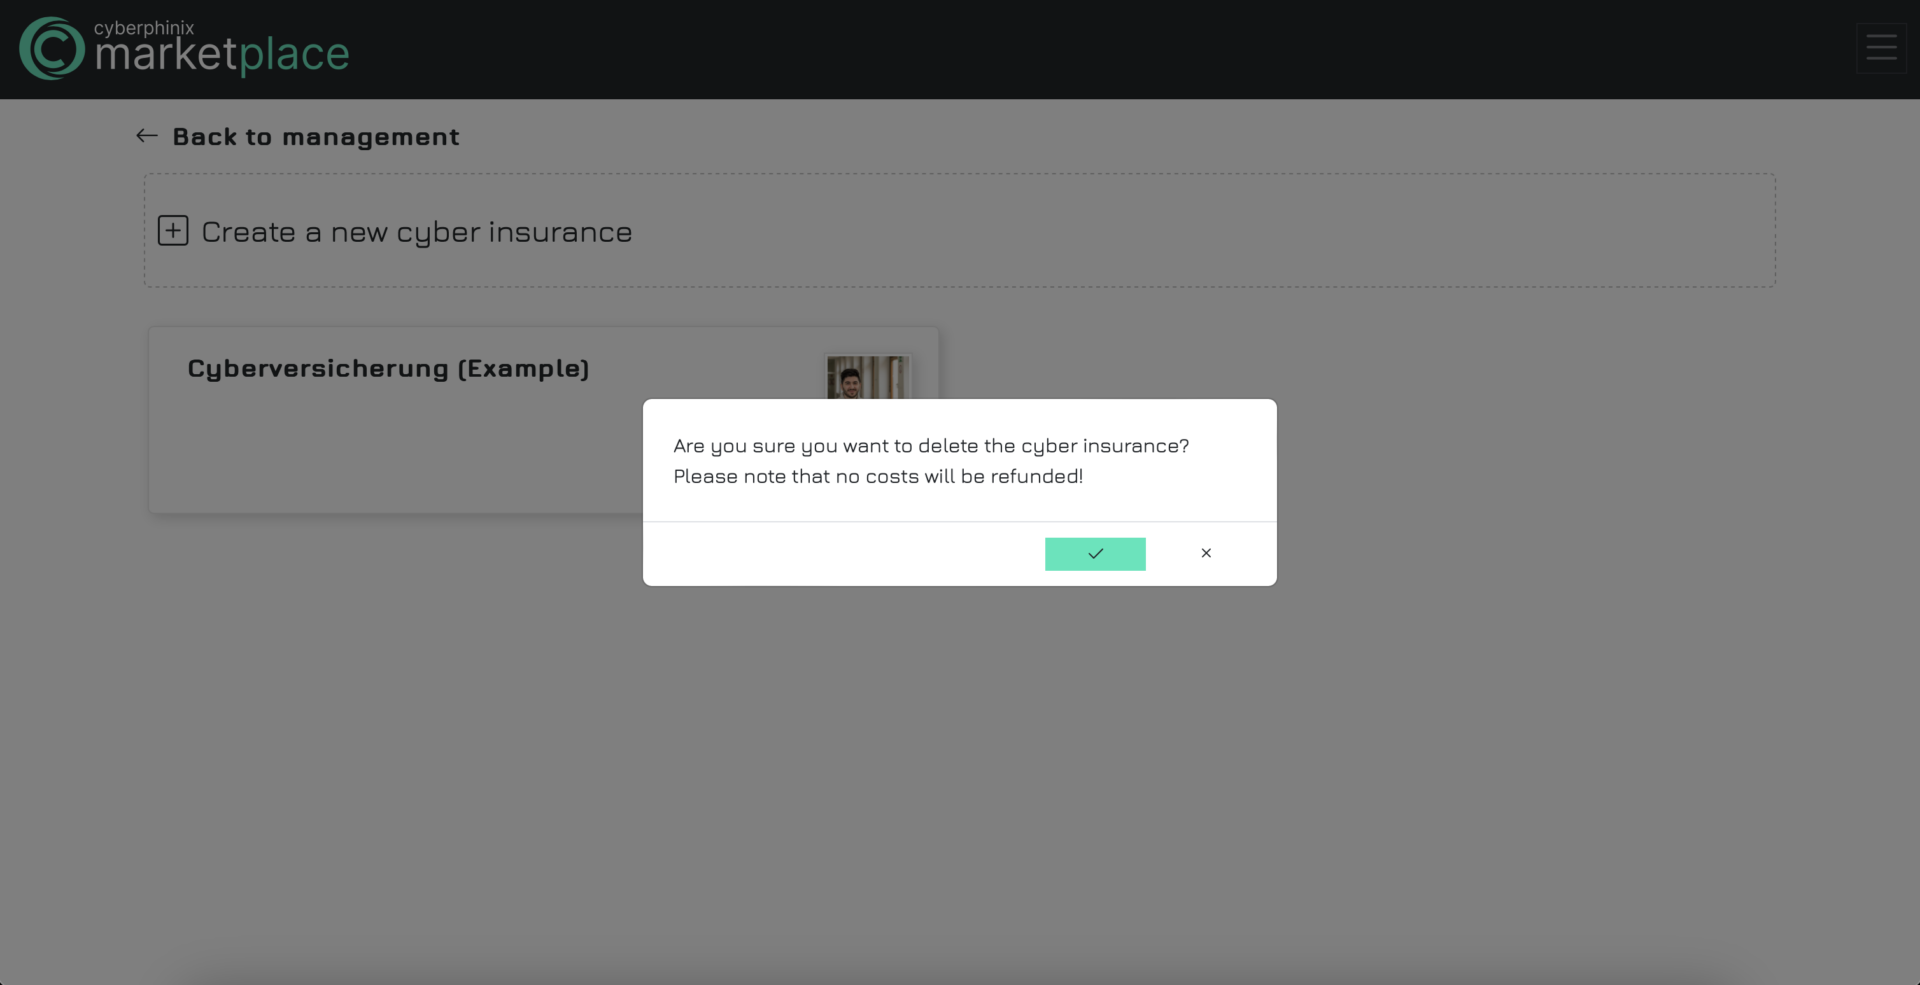
Delete cyber insurance
To delete a cyber insurance policy, simply click on the recycle bin icon under “My services”. A confirmation dialog will then appear in which you must confirm your decision to delete the cyber insurance. Please note that the deletion is irrevocable and no costs will be refunded.